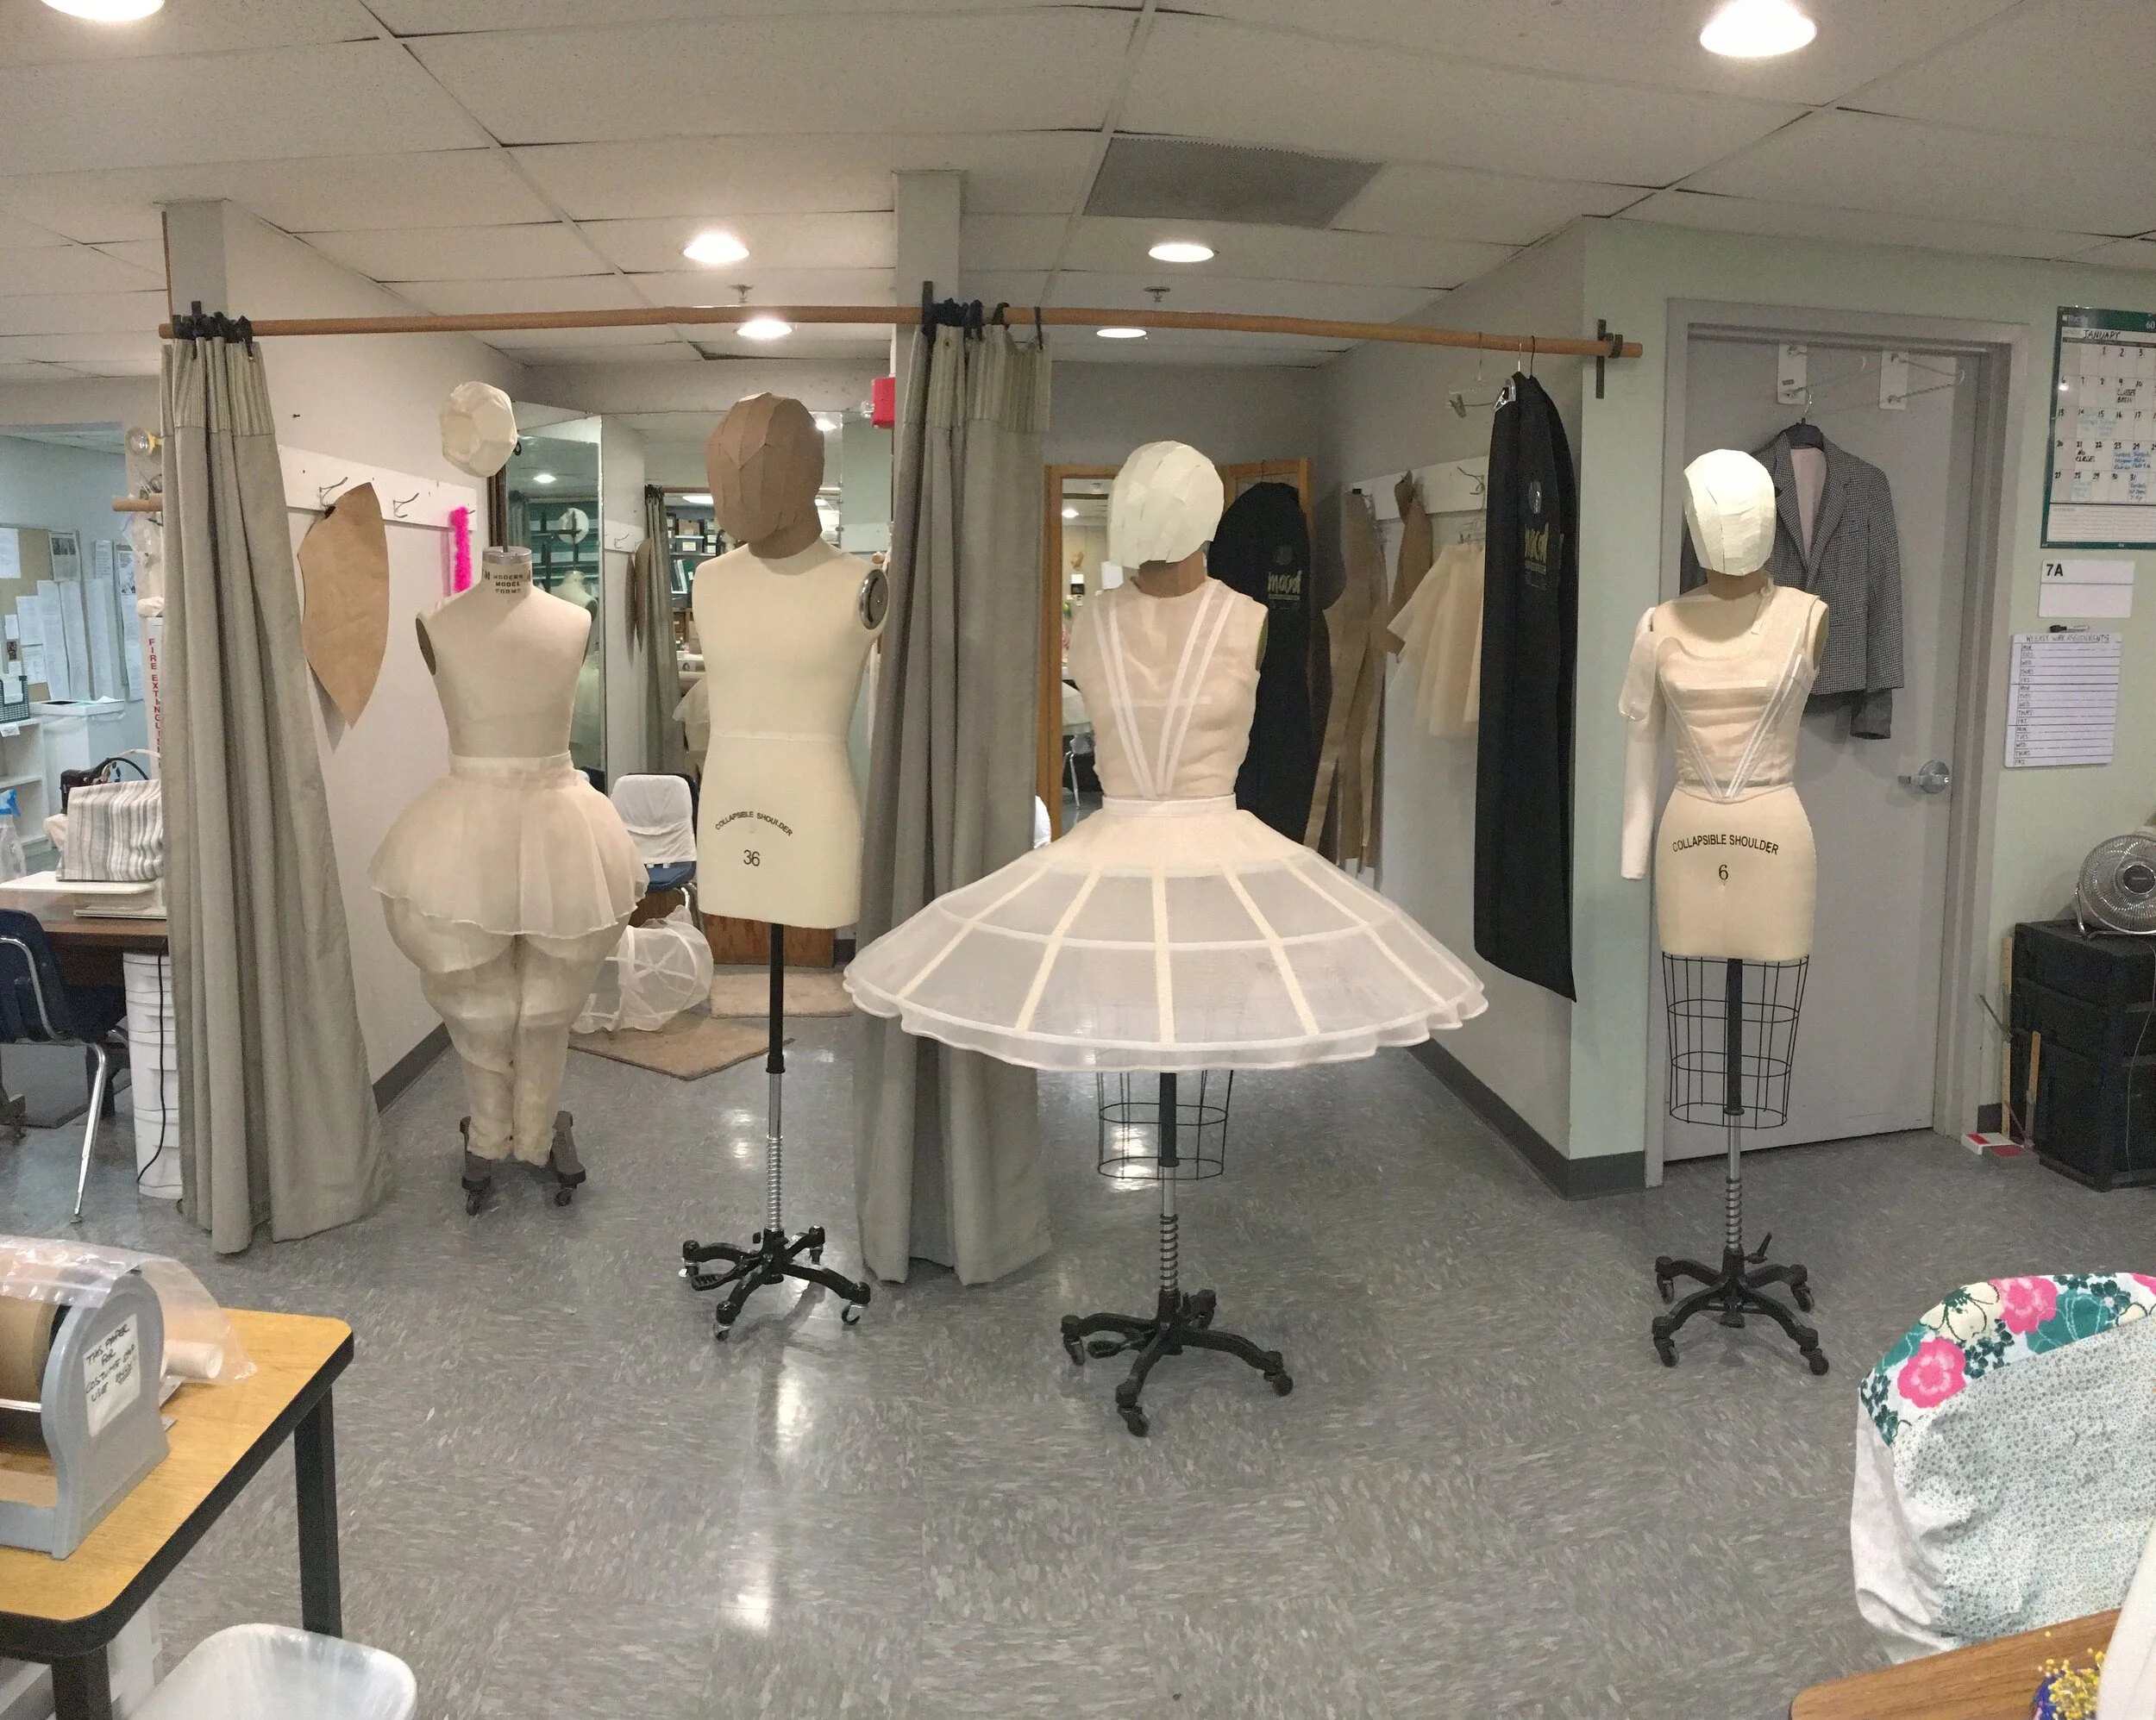
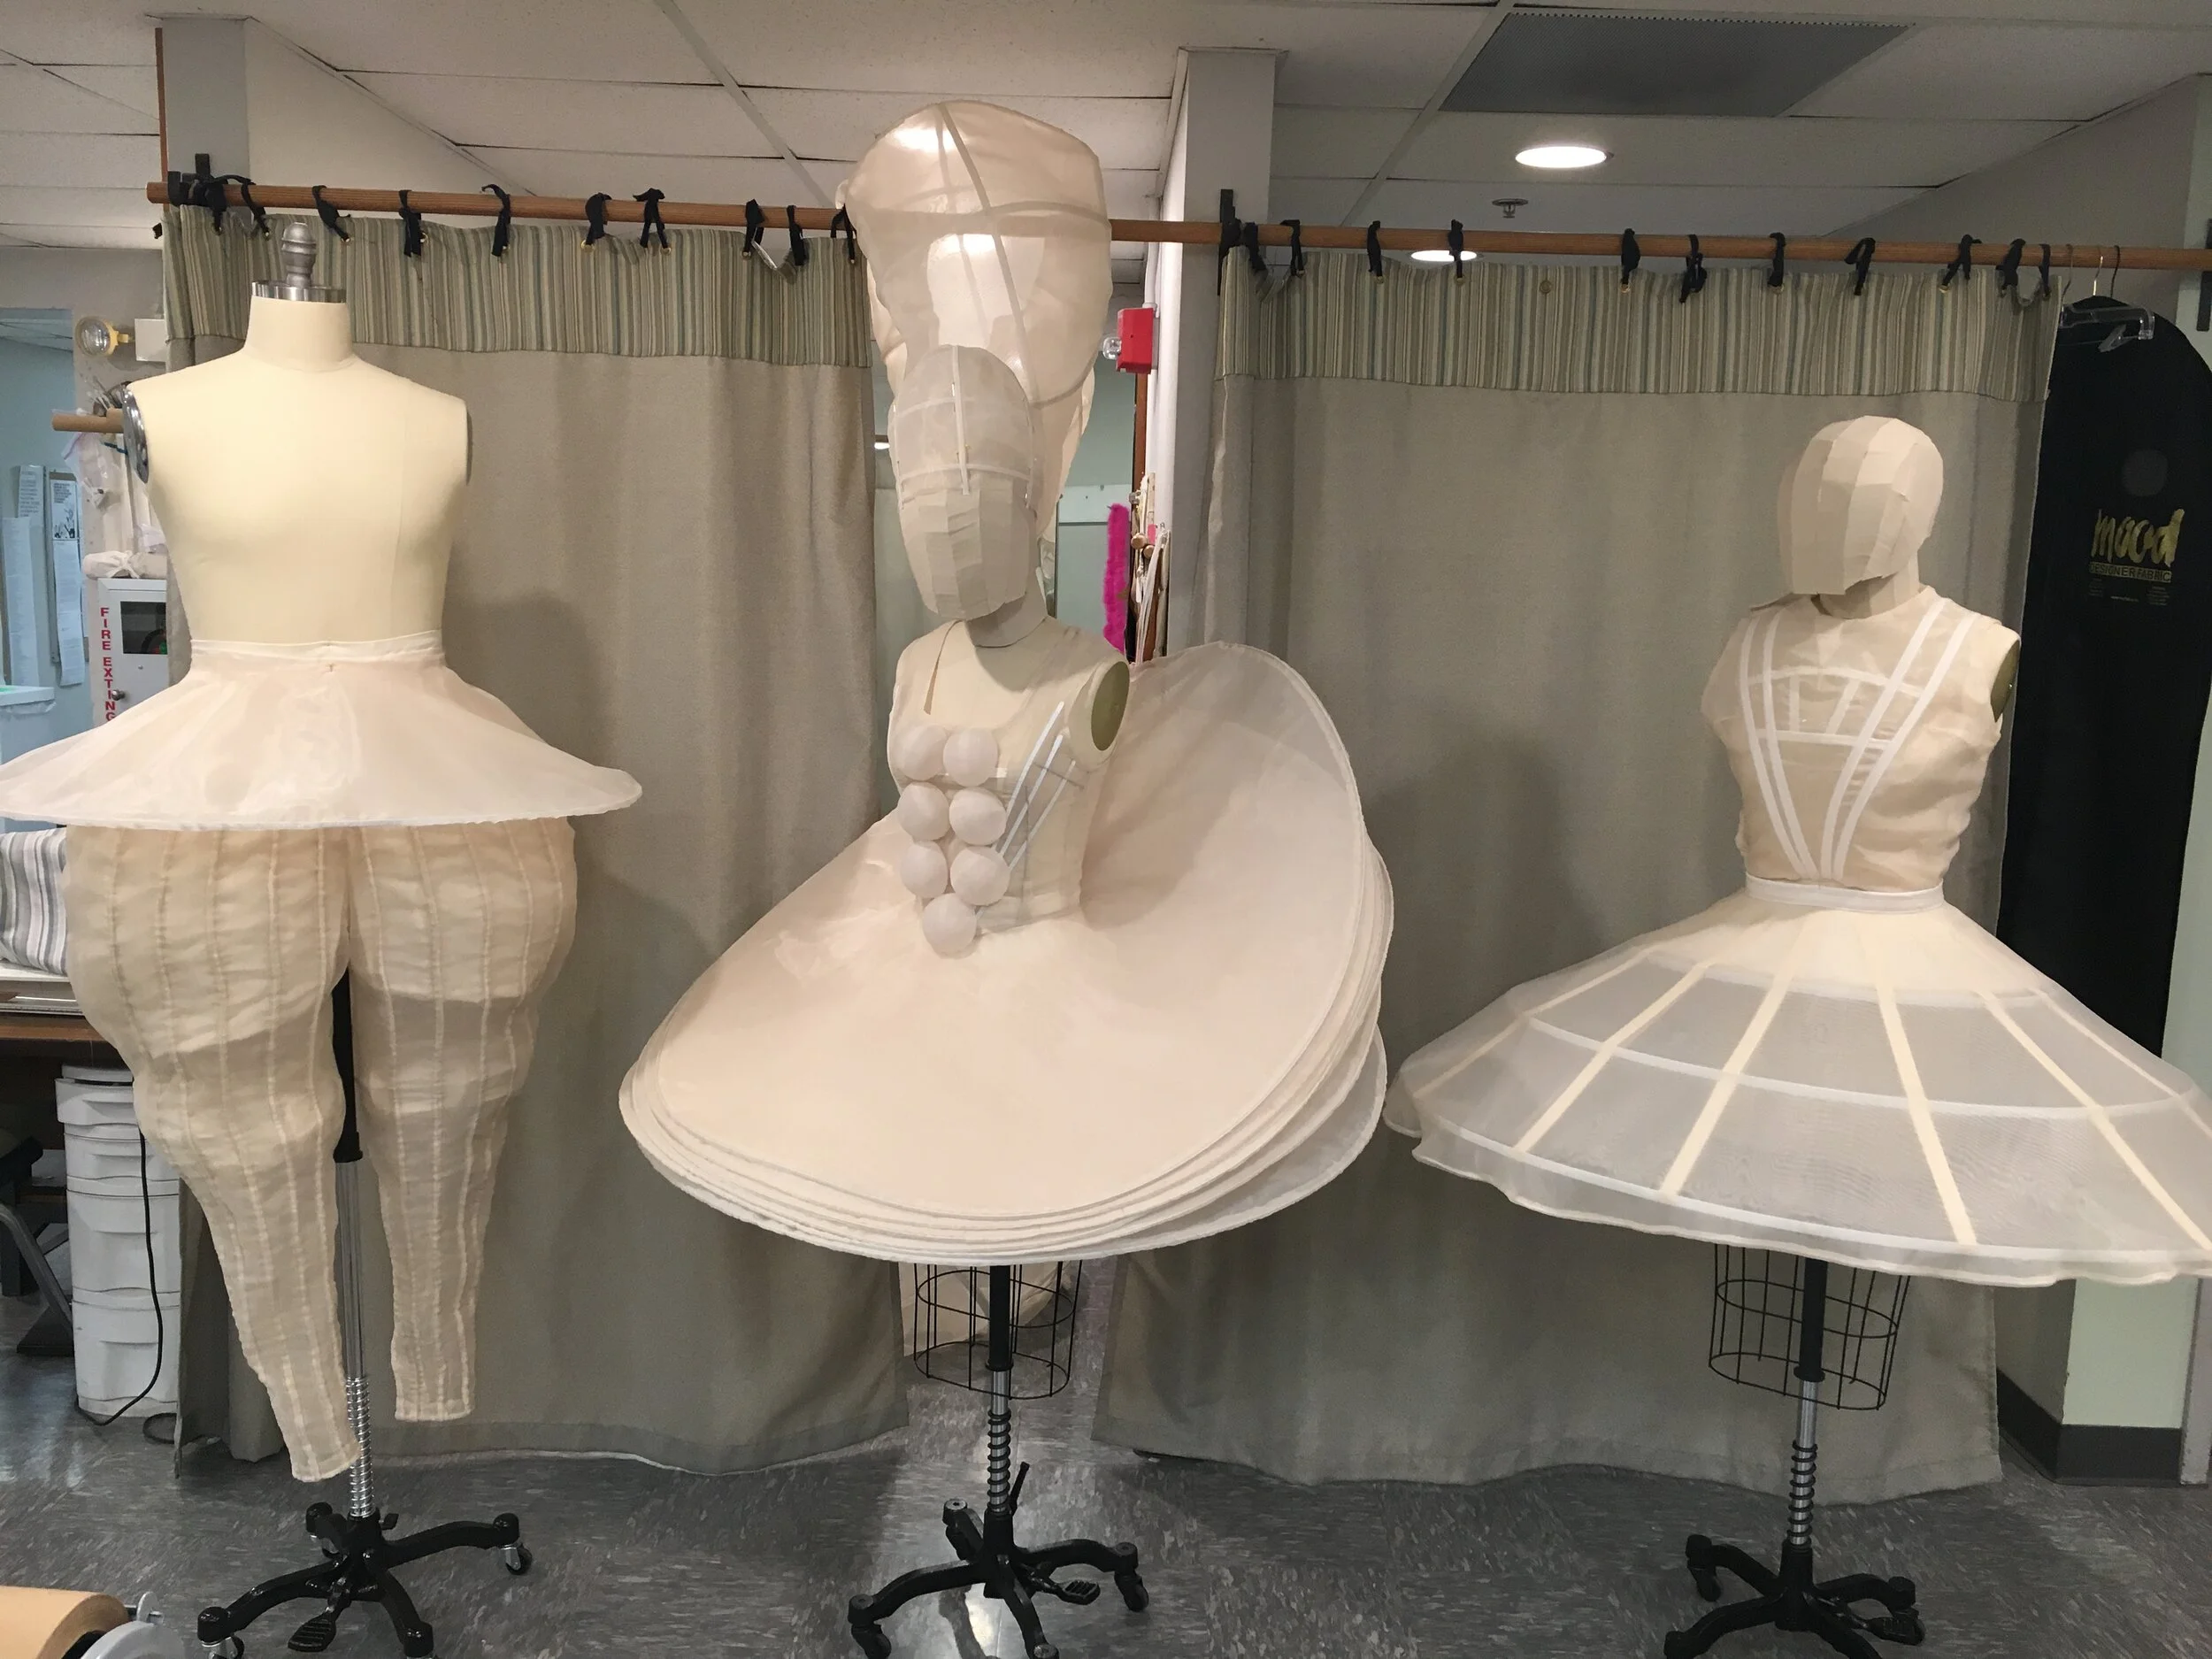
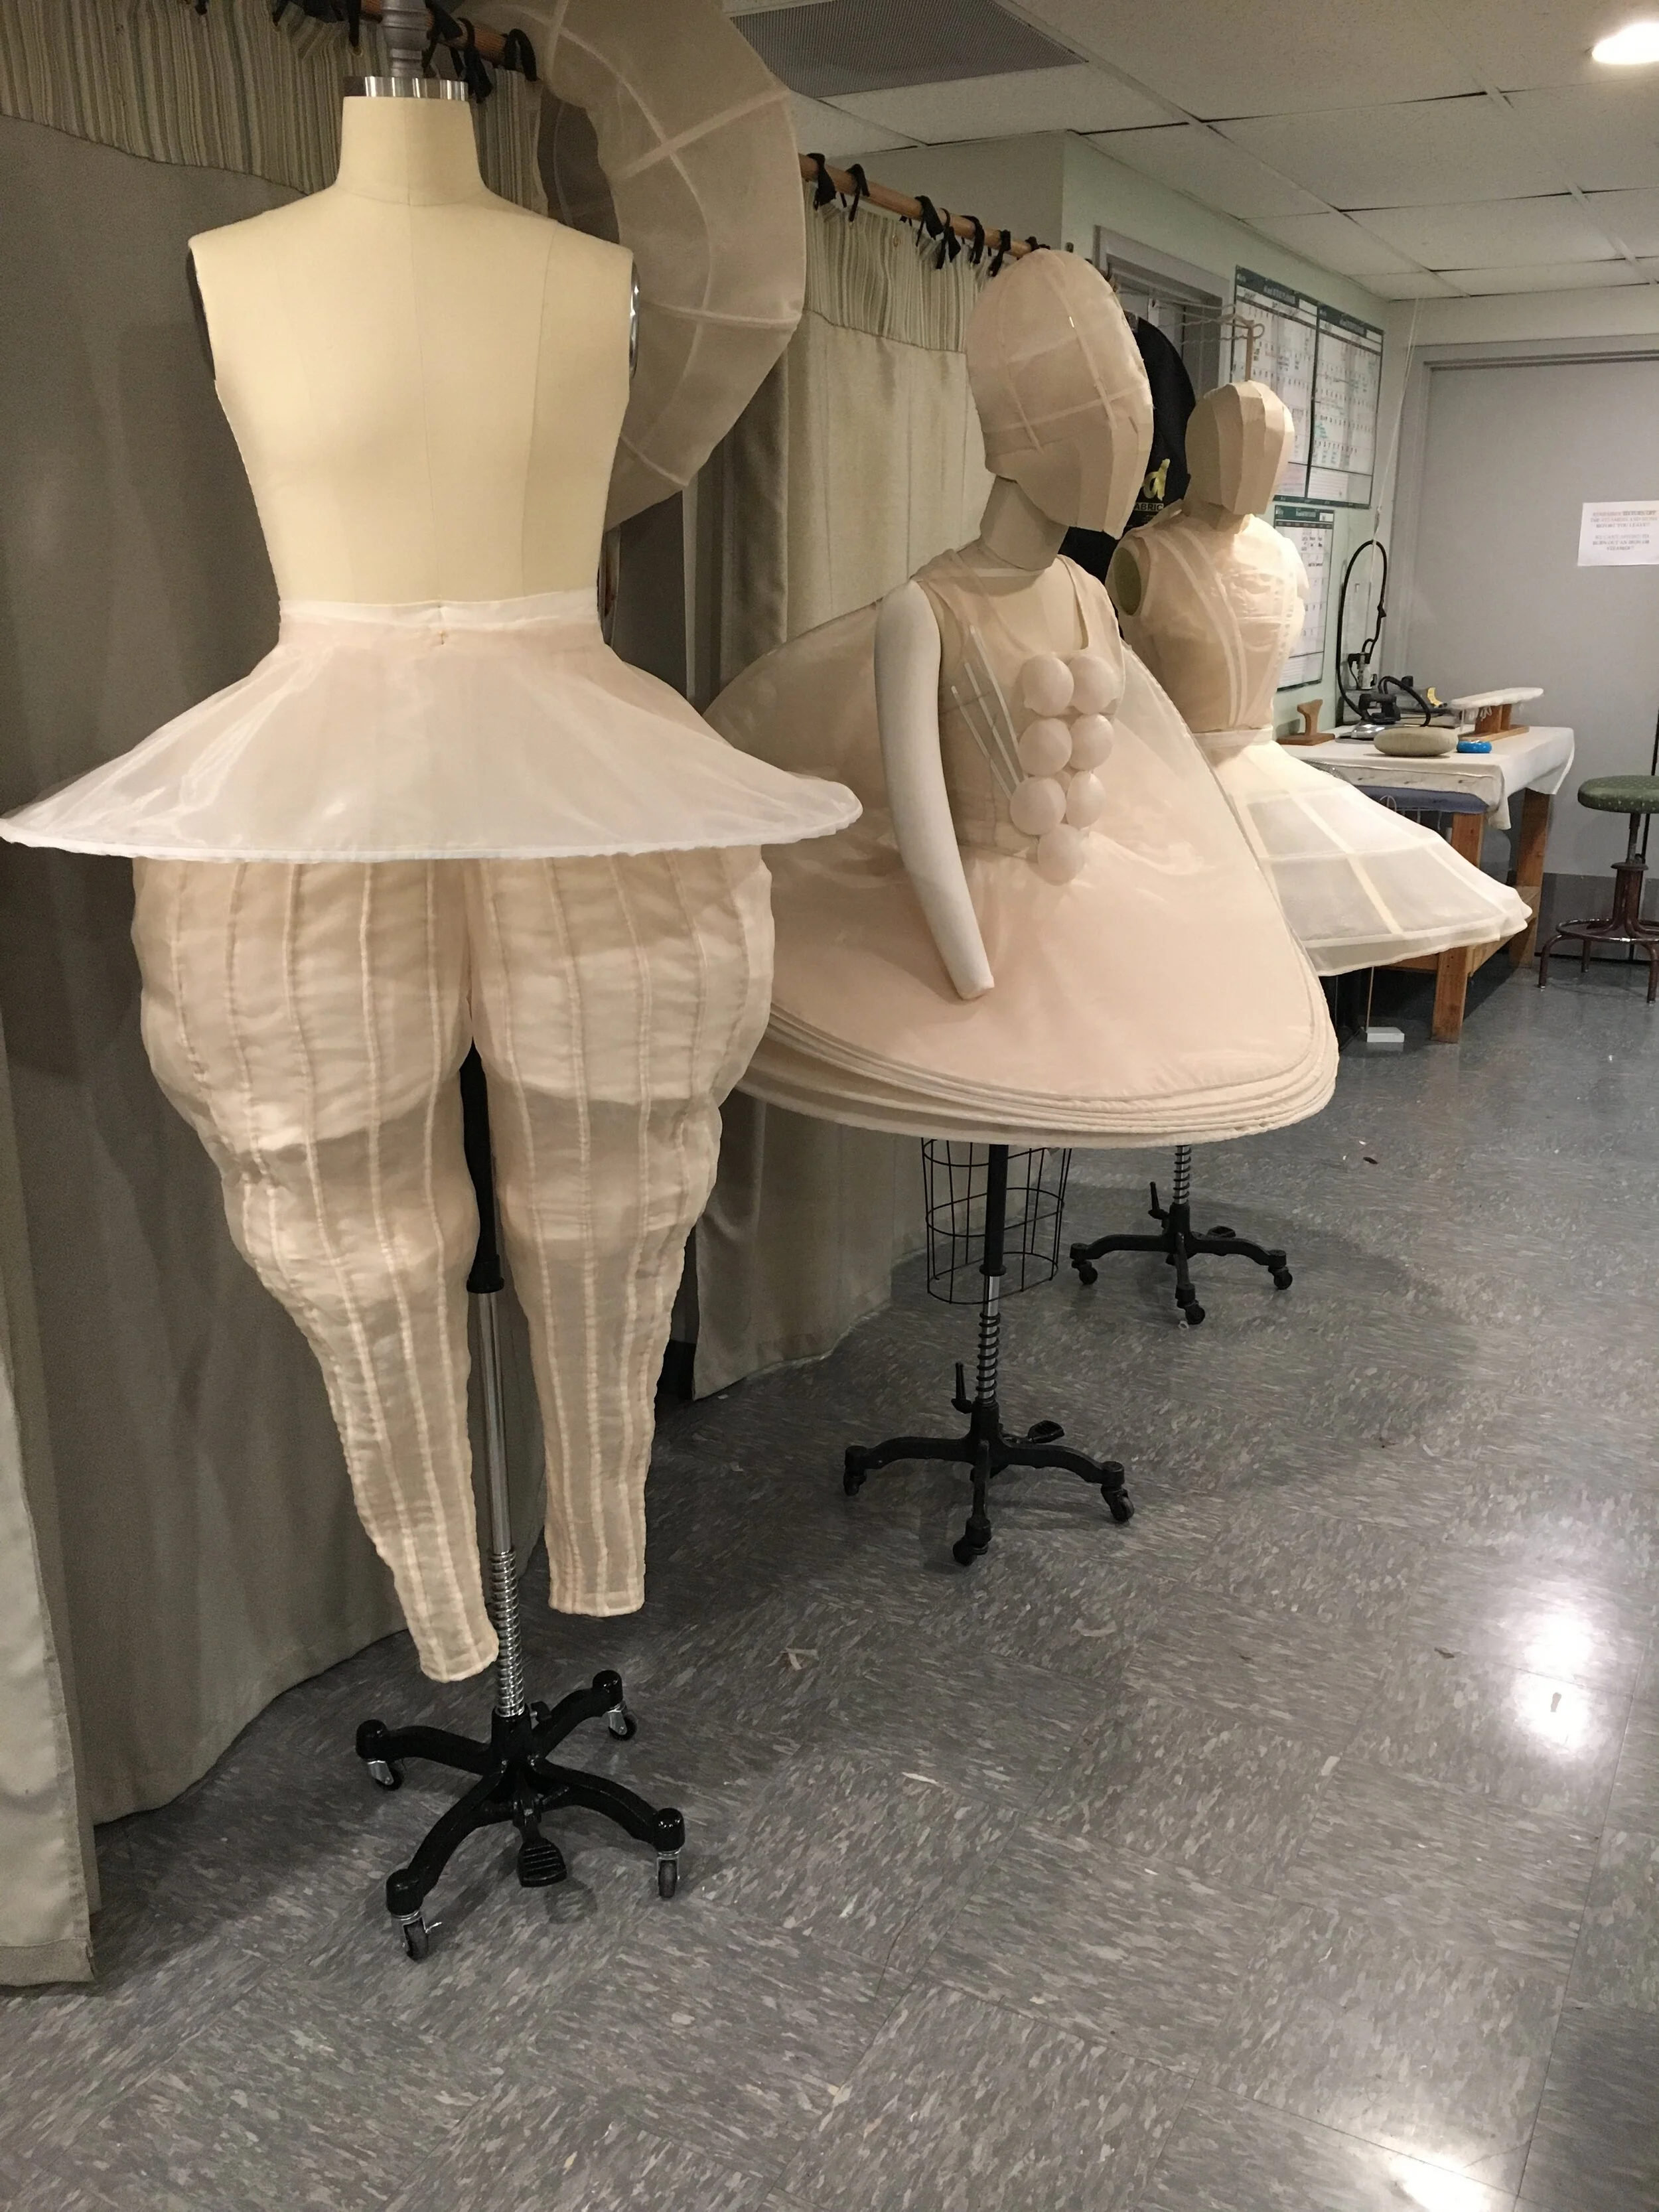
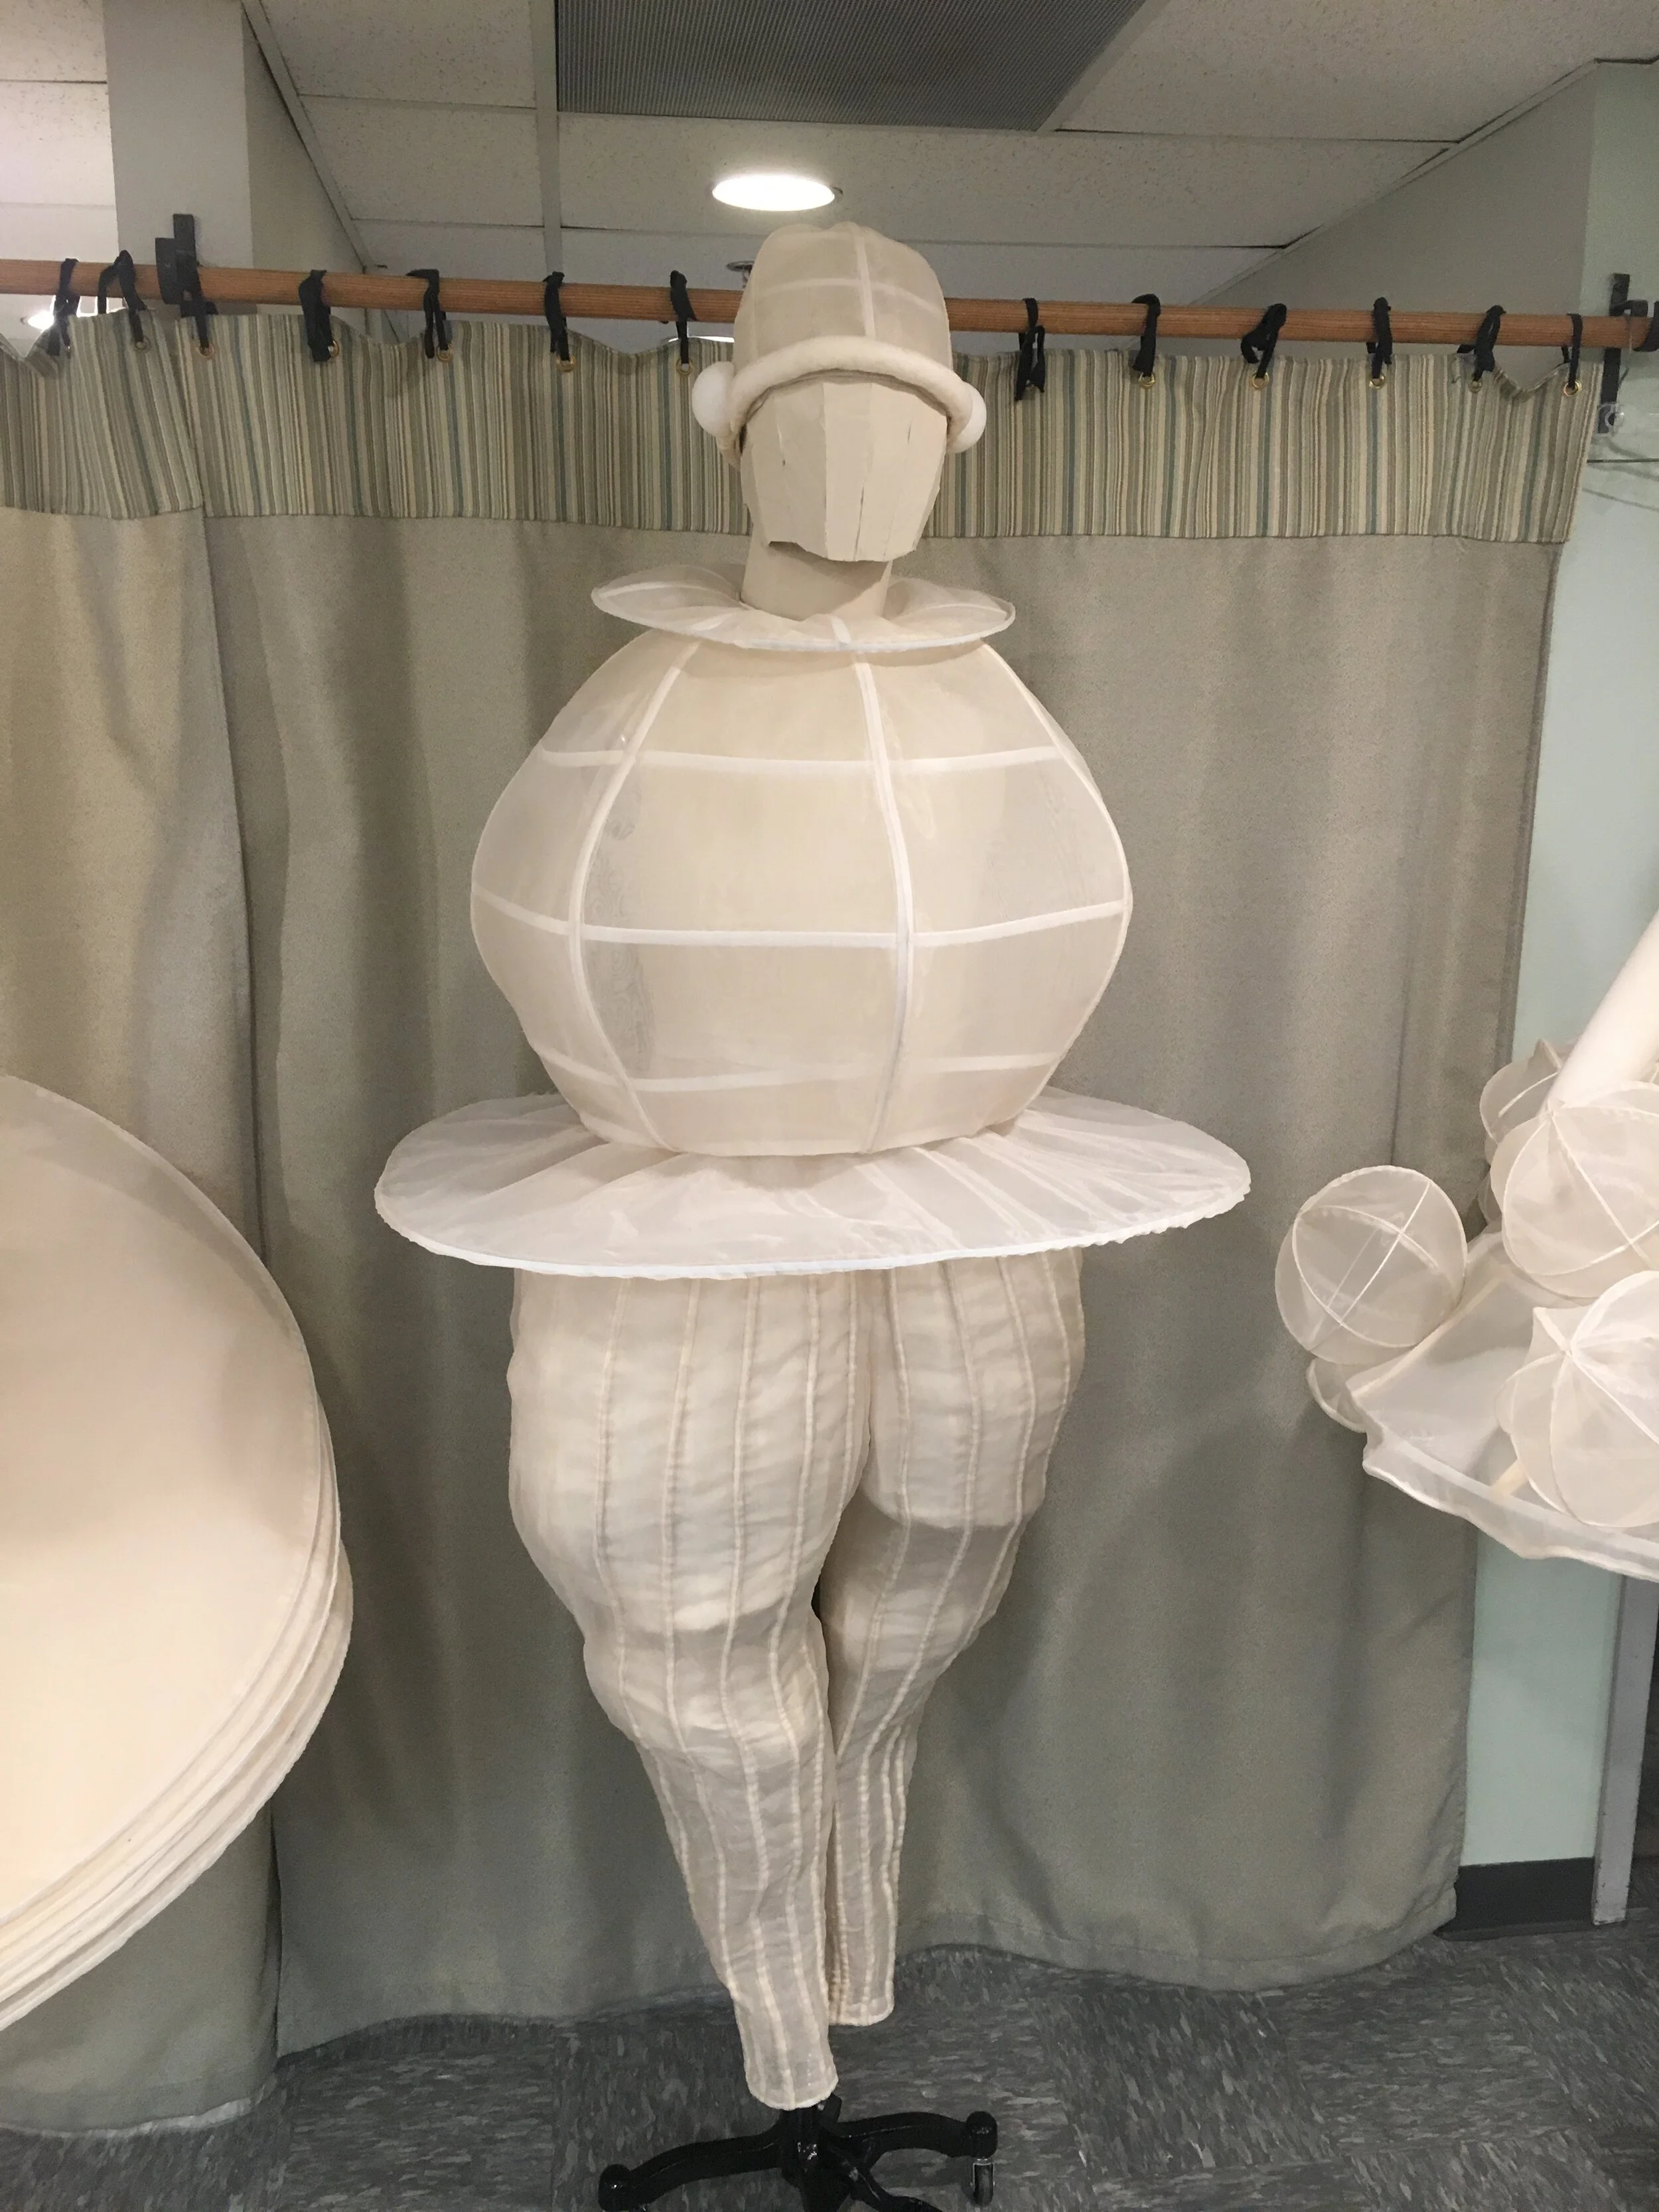
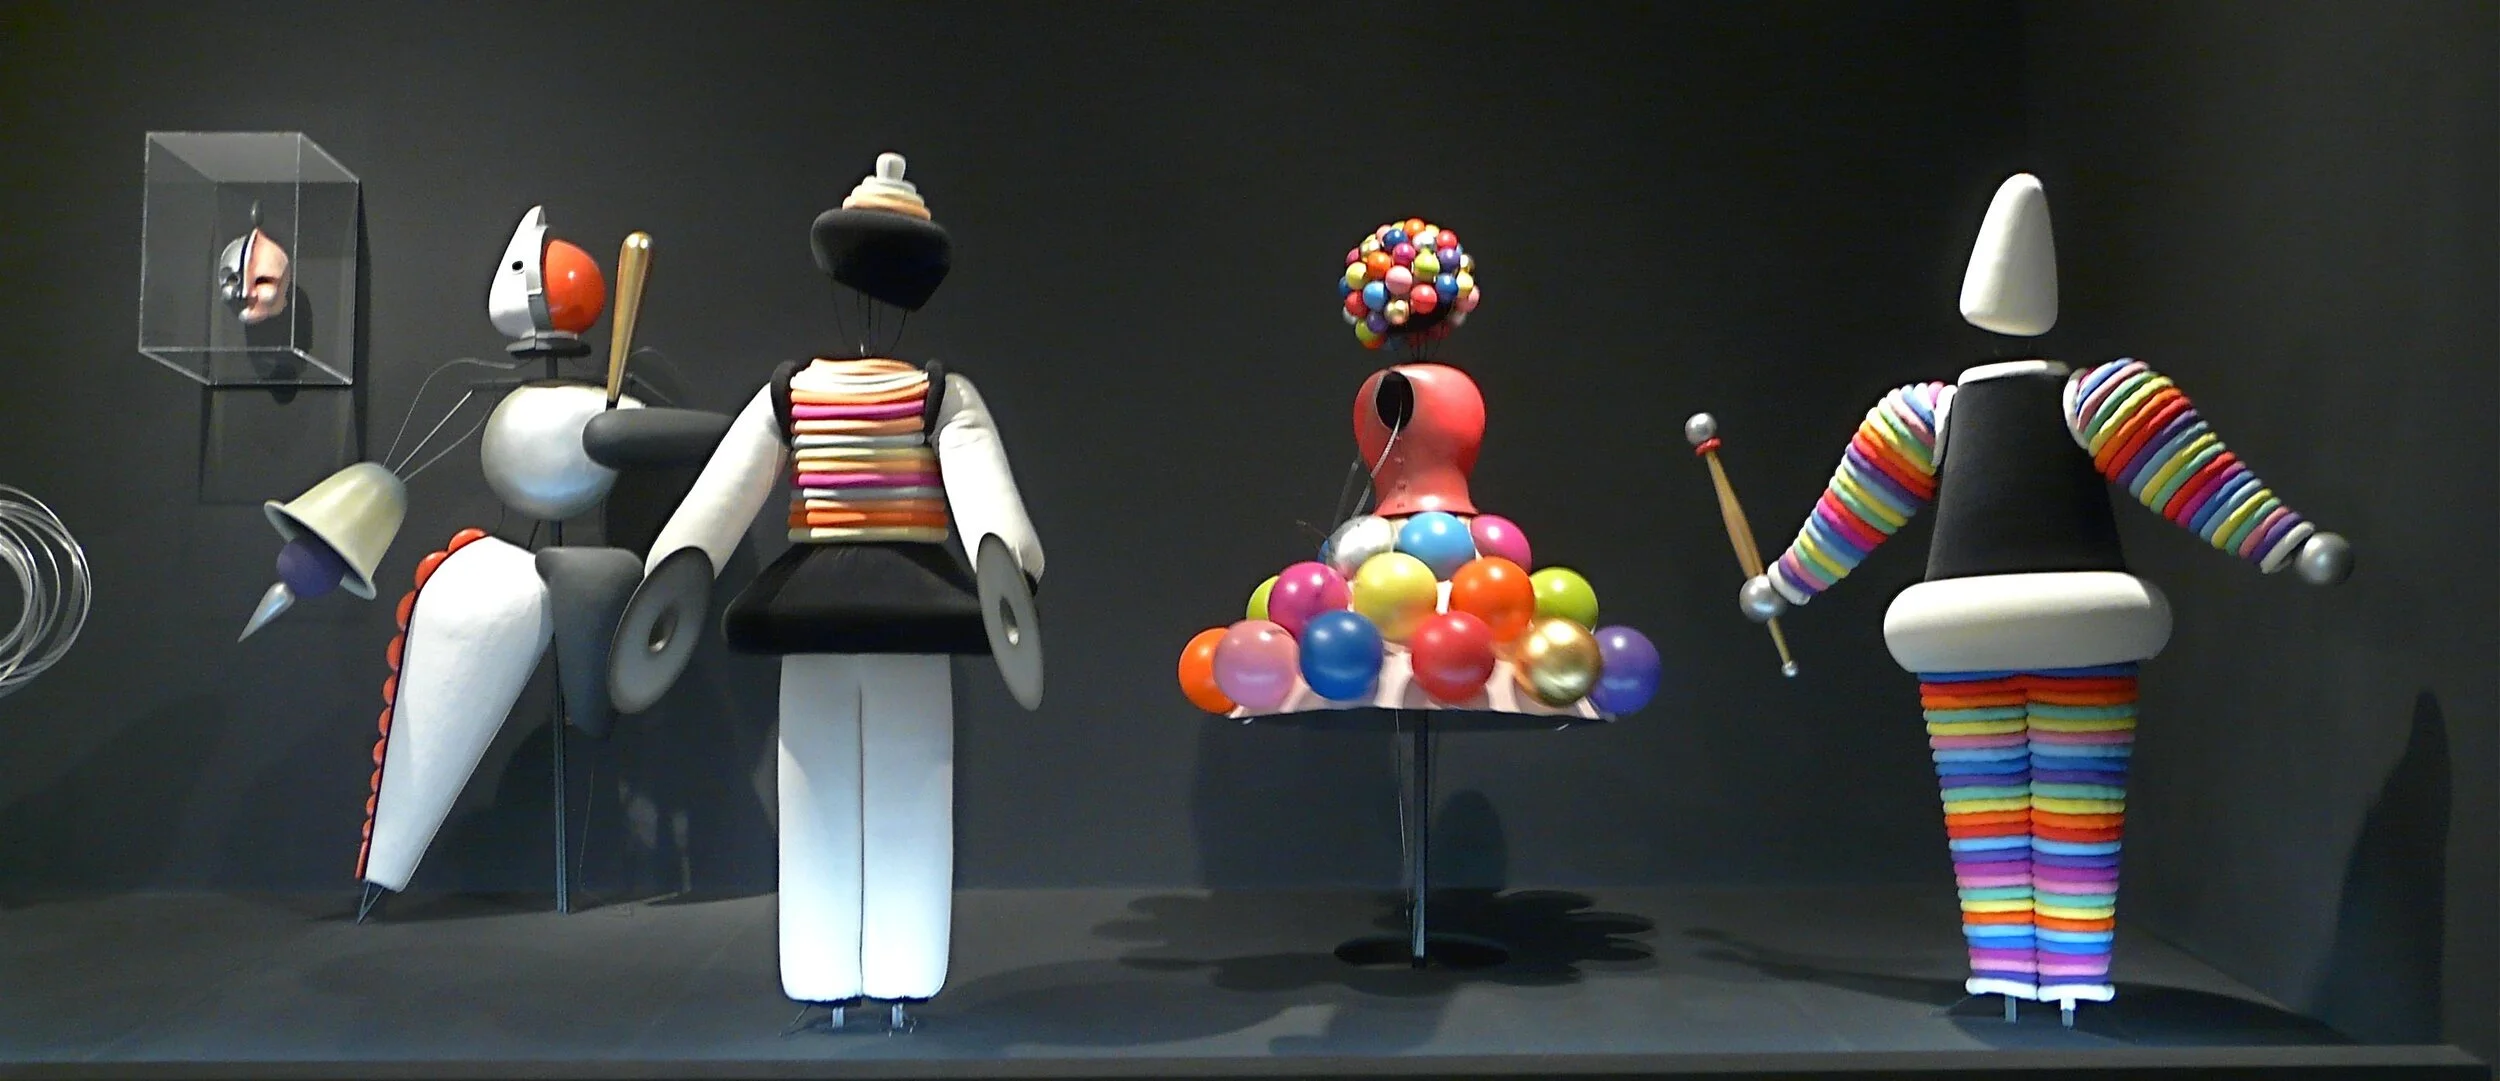
Want to see more of my work? Check out my instagram! You can see the finished products of my Bauhaus Exhibit below, but make sure you check out the rest of my website as well! Make sure you visit my contact page for my resume and current contact information.
Tuesday, July 2nd, 2019
This project has been made possible by donors to the College of Fine Arts Fund for Excellence, the University of Arizona's School of Theatre Film & Television, and the individuals who have generously donated to the Medici Scholarship Foundation (specifically Ms. Robyn Kessler and Robyn and Jeff Timan) . Thank you for all your support!
These posts have become much more spaced out now that this project is coming along. The days feel so short, but I did manage to get an extension on the project. I didn't realize that patterning these pieces would take so much time and energy, and that each mock-up would present new problems that I had not expected. But that is the purpose of this project!
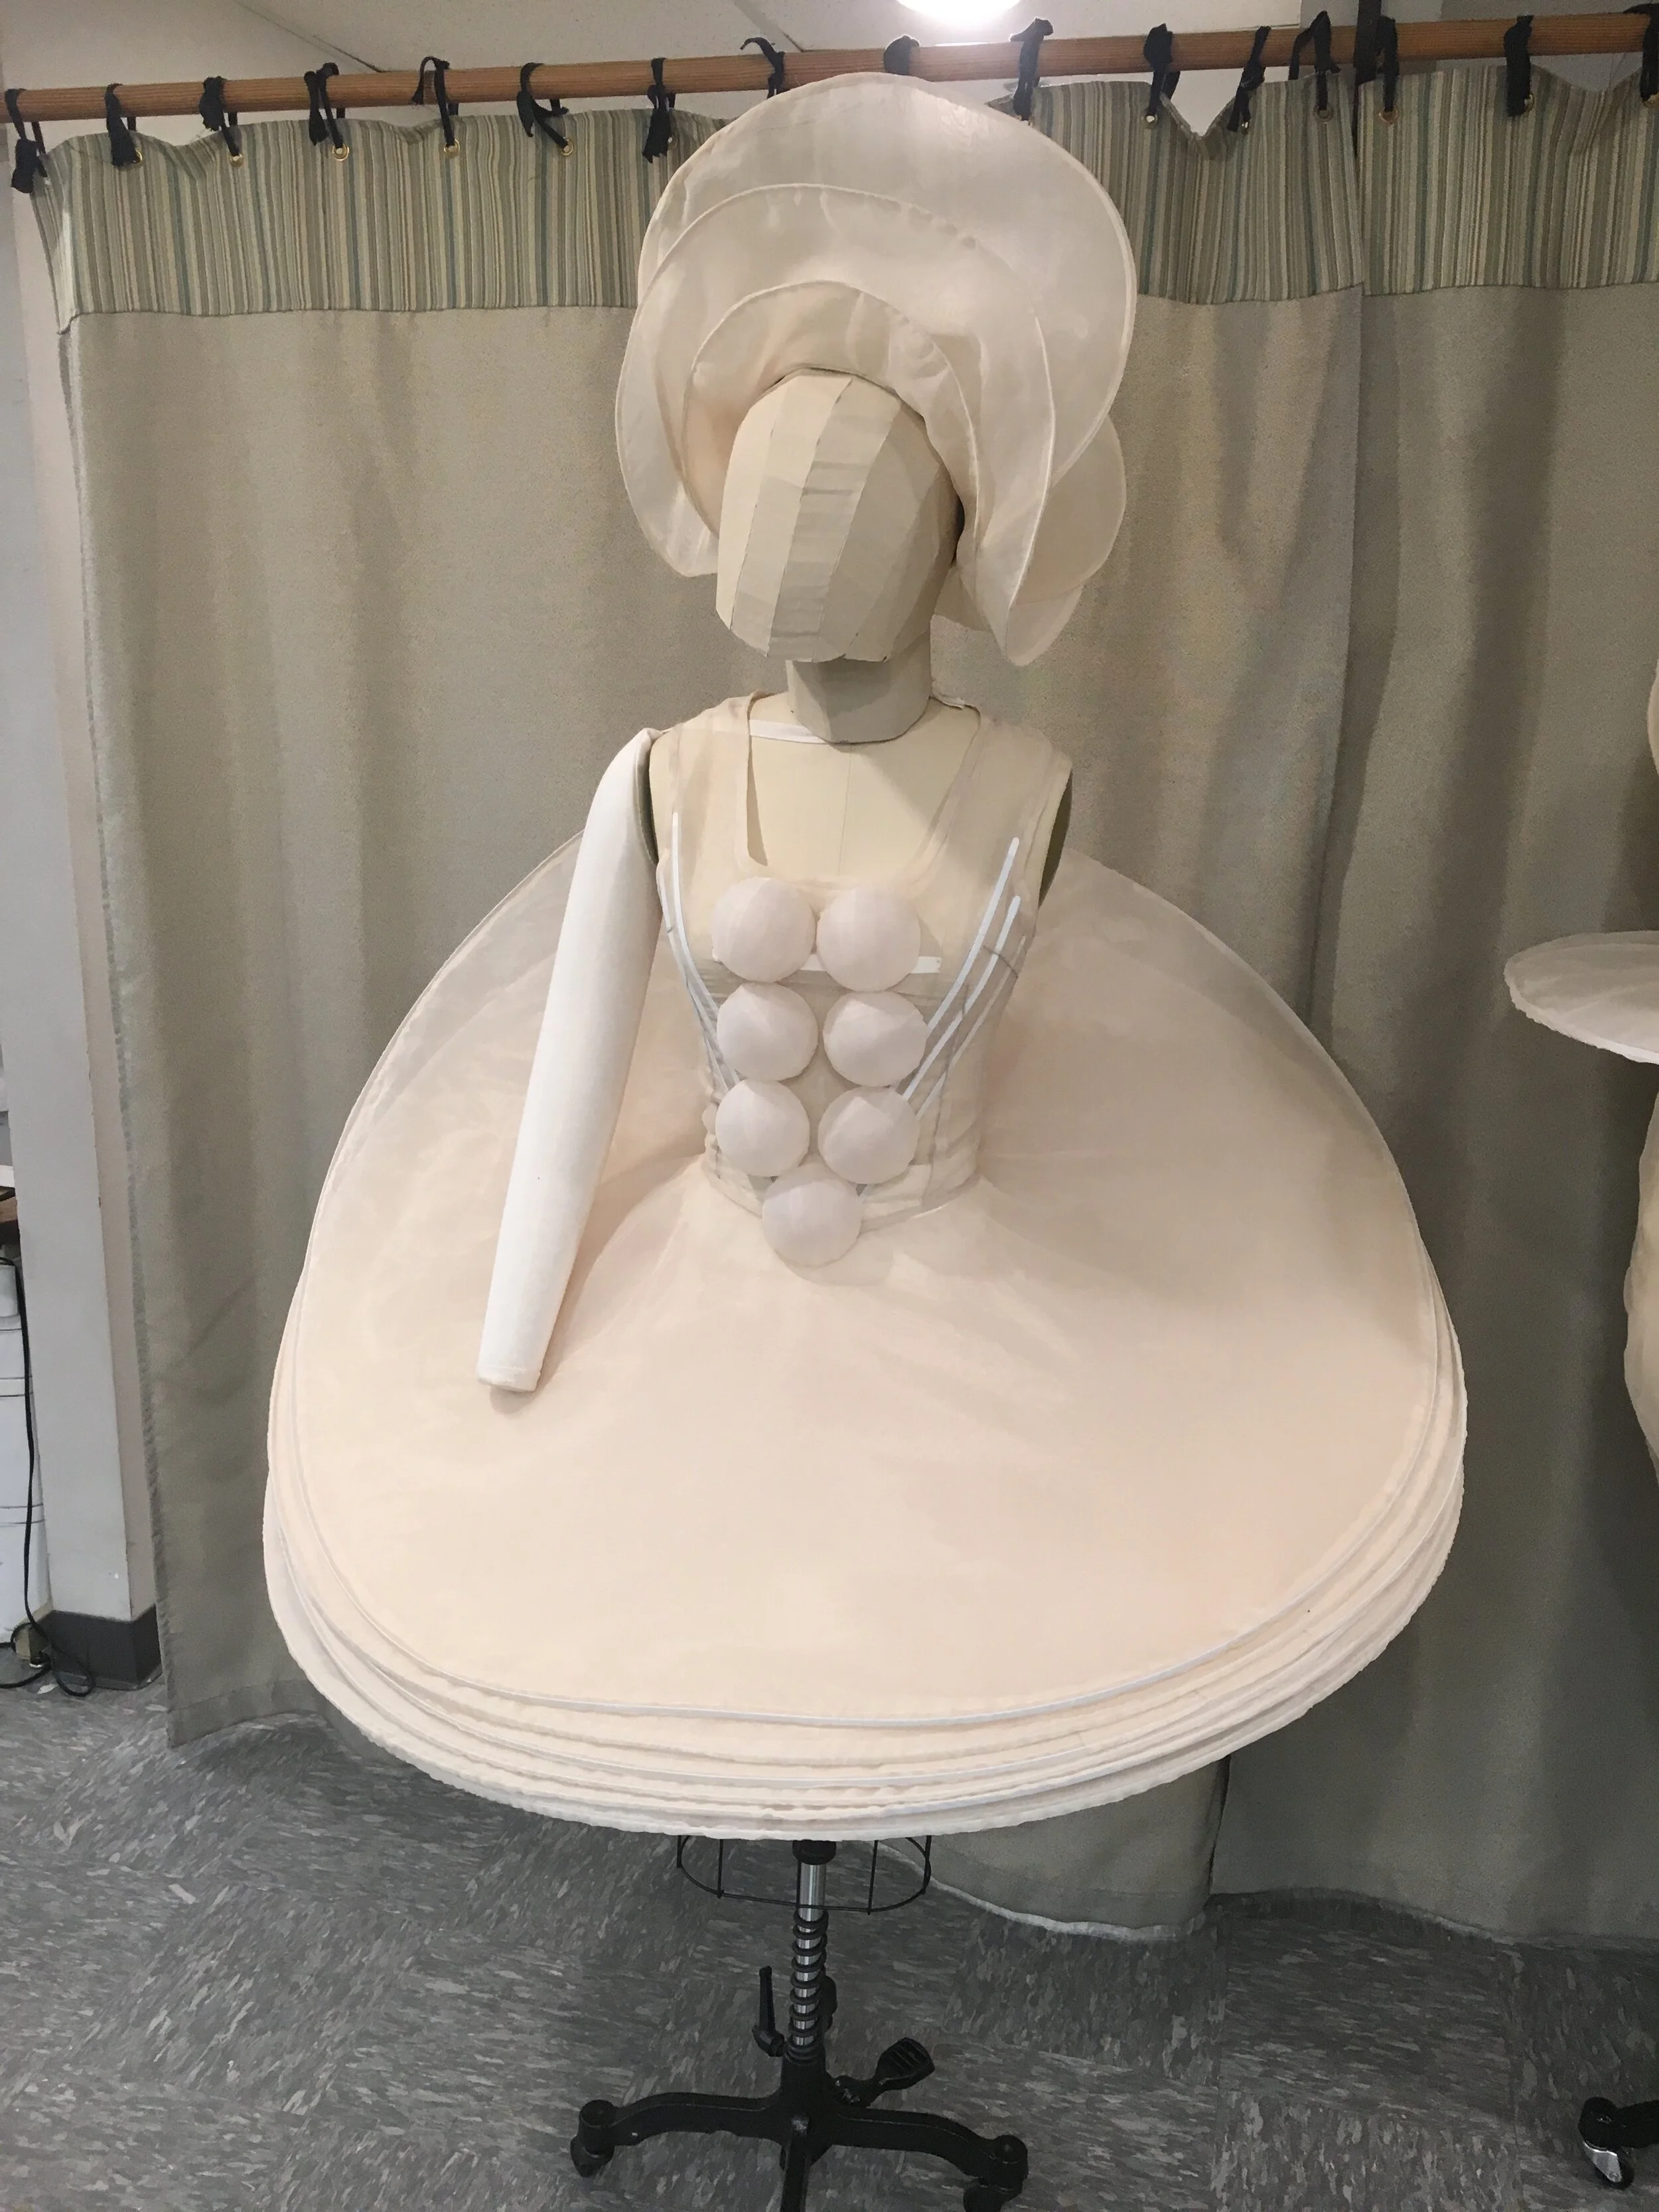
So I think this is where I left off in the last blog post. I have completed the base of this piece! The boning and busk are all in place, and it is fully biased together! No raw edges on this baby! You can see here the boning being inserted and the busk being finished.
Working with bias made from this organza is an absolute nightmare. It doesn't exactly press well, and by that I mean when you press it, it shrinks in places and looks like you've burned it if you hold the heat on it for too long. But I got it on there by some miracle!
I've also been able to begin on the tutu. I have decided to french seam all of the seams [yay...] so the raw edges don't present a problem when I insert the boning. Here is what it looks like so far with no structural materials (and finished bodice base!).
Funky!
I've noticed that using the french seam as a casing for the boning is an absolute no-go. I cut each like I would a circle skirt, but when I insert the boning, it bows in a way that is not pretty at all. So I decided to put some sort of casing into the edge of the skirt at each of the seams. It was definitely a better option, but the casing is really ugly, which presents a different problem entirely. This is technically an 'art' project, after all, and we can't have ugly!
Below you can see what I mean...
So, alas, it must stay like this until I can consult with my adviser on how to fix it. I also realized that I have to cut SO MANY MORE half-circle skirts. See my incredible sketch:
At this point I had only cut three in order to make sure the construction method I was using would be suitable for the final project.
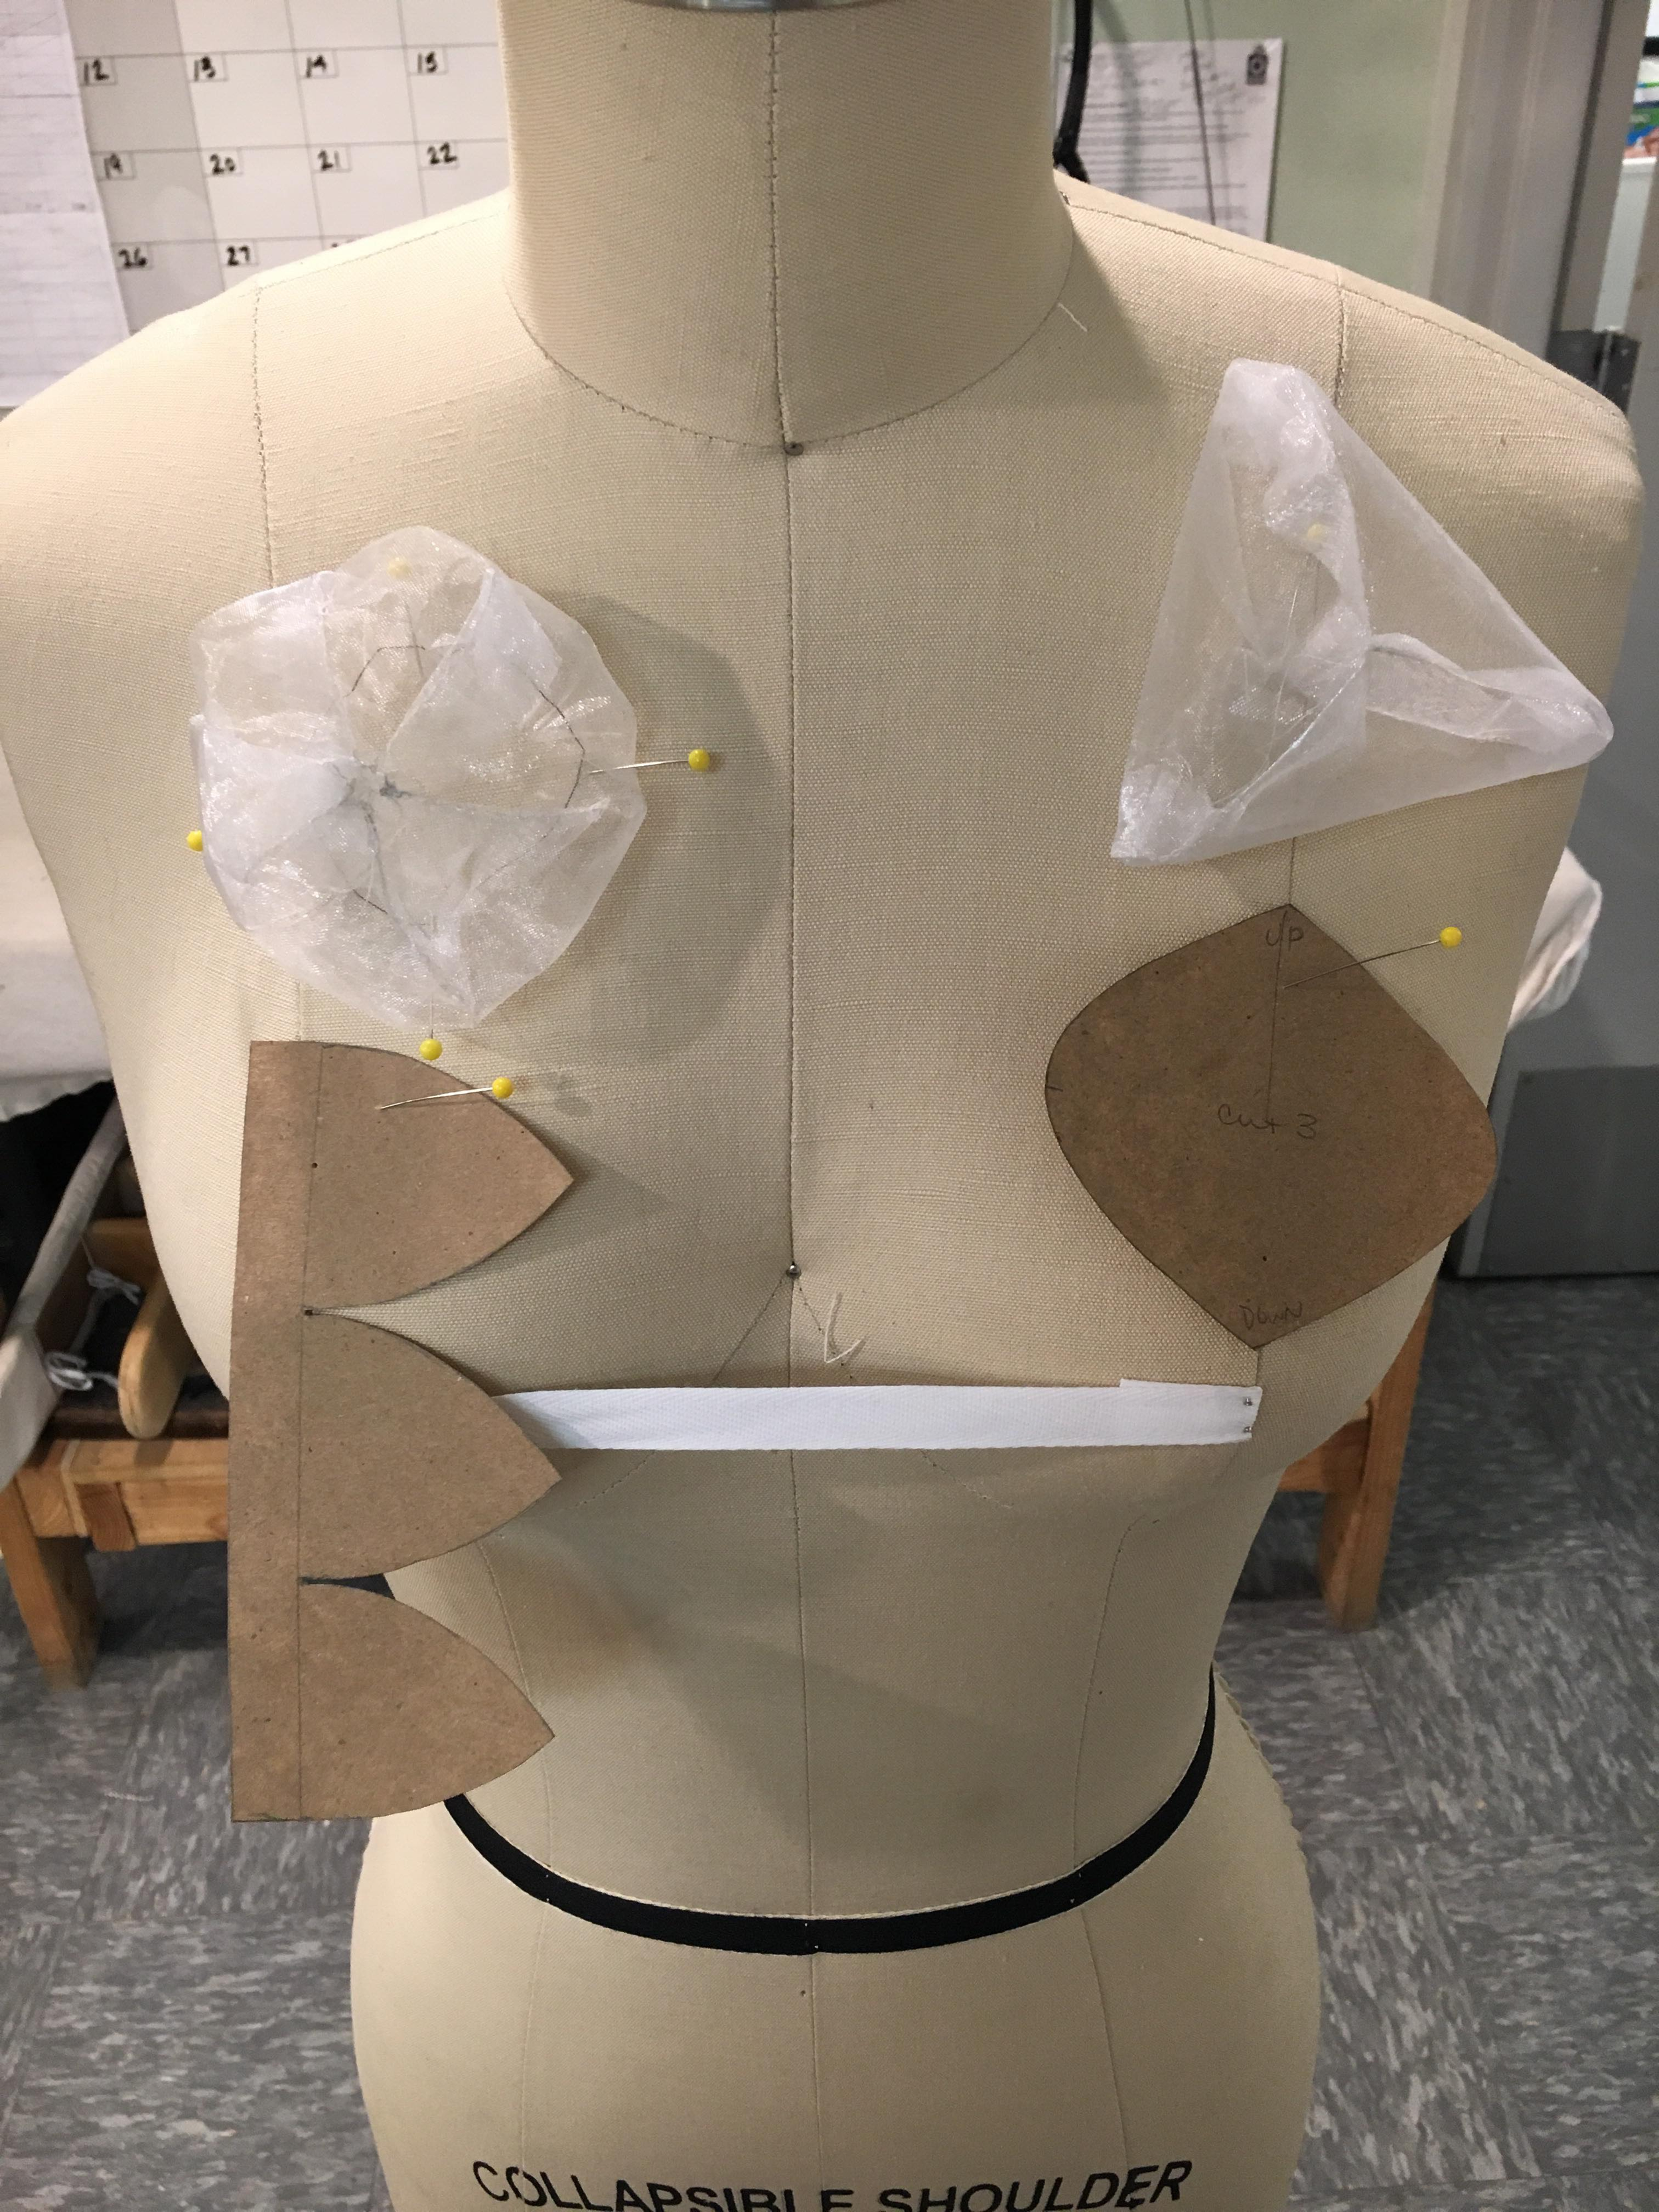
I also was able to play with the globes that sit on the top of the bodice as well, and came up with a great solution!
These bubble shapes will be sanded down and fully covered with the nude fabric. They will then be sewn on, able to keep their circular shape, and still look really nice! I am happy with this portion.
Anywho, after the tutu glitch I decided to move on to constructing the male pieces since I already had much of that patterned out. I constructed the under-pieces of the pants portion, and patterned the rest of it last week. Here you can see the beginning of the construction for the bloomer-esque undergarment.
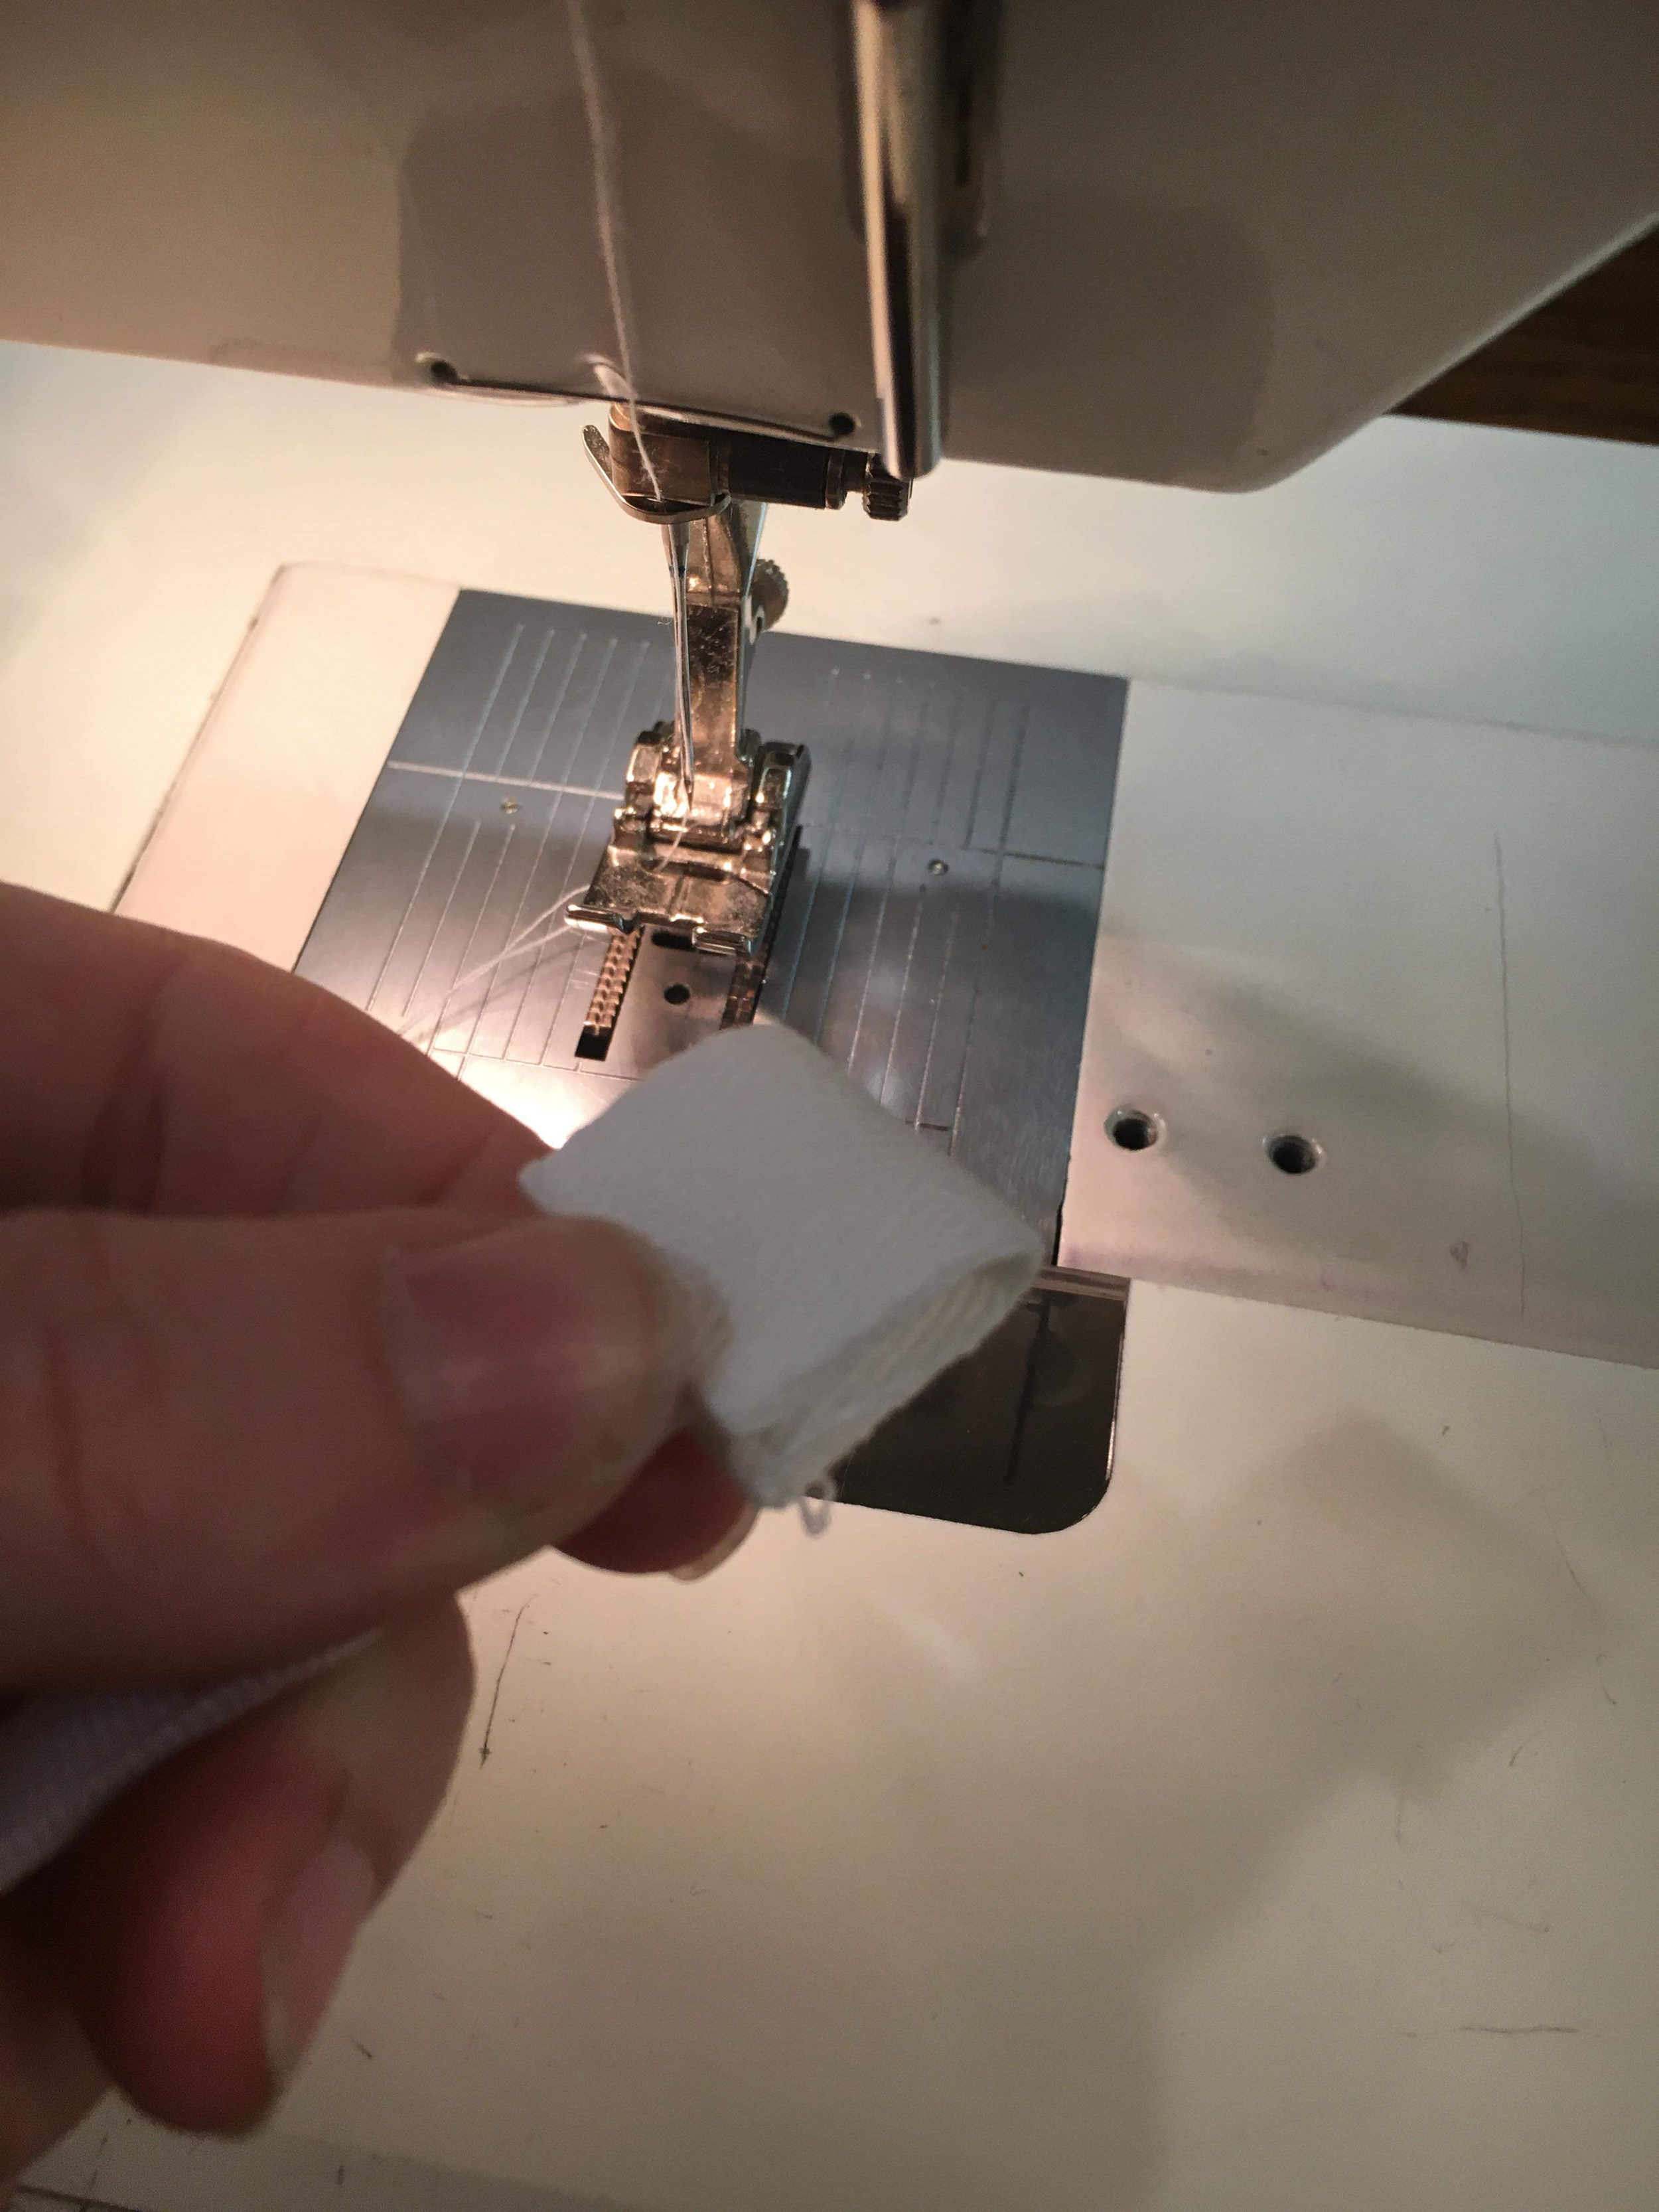
I just want all you costumers out there to appreciate the fact that this was seamed using flat-felled seams. All of them. I used these specific seams to encase the 1/4" rigilene running down each seam.
Here is where I left off on Thursday of last week. It needs a waistband and needs to be finished around the leg openings, but I did a pretty good job on it if I do say so myself. I made the decision to use muslin for the under-portions of this piece. The mock-up I made really obscured the bloomers and the globes encircling the knees, and the purpose of this project is to highlight the structural pieces, not make them more confusing. I think it still fits with the theme and will be much more appealing to look at.
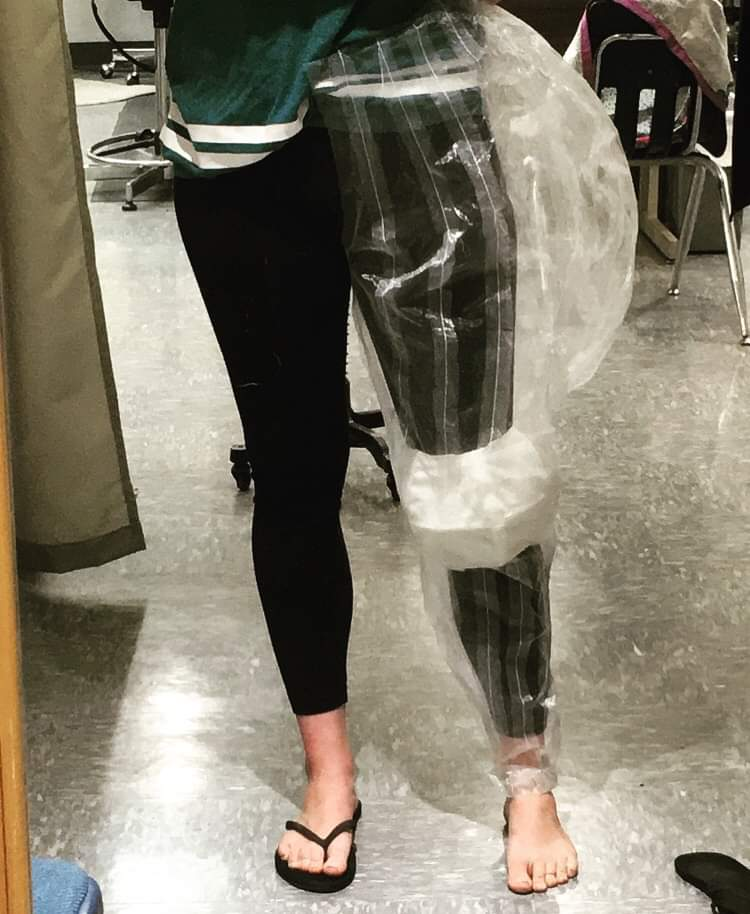
I also made the globes on the knees as well, which you can see in a previous picture. I will have to remove one piece of the boning from each so they can sit side-by-side underneath the pants. I was also able to pattern, mock-up, and construct most of the balloon top the male is wearing as well last week. Here is the mock-up for the balloon top.
You can see it's a lot bigger than intended, and the shape was not quite right. I patterned this three times before it looked correct. Here is where we left off today:
The balloon top is much better fitting and the correct shape (YAY) and I can now begin on figuring out how to encase the structural materials that I need to use on it. The bloomers and globes on the male's kneecaps look pretty cool.... I am quite excited to see the finished product.
Thanks for reading!
Friday, June 14th, 2019
This project has been made possible by donors to the College of Fine Arts Fund for Excellence, the University of Arizona's School of Theatre Film & Television, and the individuals who have generously donated to the Medici Scholarship Foundation (specifically Ms. Robyn Kessler and Robyn and Jeff Timan) . Thank you for all your support!
Hello!
I have been MIA for a while, sorry about that. Been making some good progress, but not as much as I really hoped to this close to the deadline. That, and my living situation is about to change drastically, so I may have to end up asking for an extension on the due date of this project. I am hoping that because the exhibition isn't until October that an extension is a possibility; not too long, maybe just a few weeks. I have almost everything patterned except for the hats. I am SO NERVOUS about making these hats, specifically the female with the tutu. Her hat looks crazy complicated, and I started thinking about a base yesterday....maybe buckram?
I've also settled on the male's pants. Here is what my final mock-up looks like:
It doesn't look spectacular from this picture, but it is the right shape and size! I finally moved on from this (this is the THIRD mock-up, which means I patterned, cut out, and made the pants THREE TIMES.) The refresher on what this pattern looks like:
SO MUCH CUTTING!!
Anywho, I was able to move on to the pieces that sit under these pants, the two balloon-like structures on the knees and the cage-structure that sits on the hips. I re-made the pants pattern and cut out where I thought it hit. I ended up making it in paper before mocking this piece up, as it is a kind of specific shape. Here is my initial shape:
I made it a little longer than I thought it would be, because I wanted to put it on a form and draw on the lower curved shape. It looks bulky here, but under the pants (which I believe it designs to hold the bulbous hips up and out) they are meant to give shape. I actually had a conversation with my adviser about this, and spoke with her about the fact that, if both of these pieces are sheer, no one will really know or understand the under structures there.
In the picture below, you can see my concerns.
It kind of muffles the intention, I think. I want these pieces to be artistic and functional, and I don't think this look works in terms of function. I decided to make these particular pieces, the hip structure and the knee coverings, out of muslin. It does not detract from the intention, and it gives this piece dimension, and lends understanding to how the under-structure is created and what it's meant to look like.
Here is the knee structure. I will make it larger to fit the entire space in the pant, but this is my mock-up of this piece. It looks good, right?
I went through a few different ideas for this ball shape, and it was frustrating because not only did it need to be a very specific shape, it also needed to encompass a kneecap.
I attempted a few things before I landed on this (with the help of my adviser).
I ended up using the seam allowances of the globe to encase pieces of rigelene, and a single length of rigelene within the center of it to give the shape. It turned out well, aside from the fact that it was just a smidge too tight on my calf, which means any male larger than me will have trouble with the fit. This, thankfully, is a simple fix.
I was also able to start on the bodice for the tutu piece. I cut most of the pieces for this ensemble, and began to stitch them yesterday. There are a few adjustments I need to make before inserting the bones to structure the front portion so it holds the ball-like pieces on the front. Here is the first 'fitting'.
I also started on the other female piece. It's .... not going well.
That's it for now!
Thanks for reading!
Saturday, June 1st, 2019
This project has been made possible by donors to the College of Fine Arts Fund for Excellence, the University of Arizona's School of Theatre Film & Television, and the individuals who have generously donated to the Medici Scholarship Foundation (specifically Ms. Robyn Kessler and Robyn and Jeff Timan) . Thank you for all your support!
IT'S JUNE FIRST AND THE STRESS HIT ME LIKE A TON OF BRICKS.
WOOOH.
So I'm here on a Saturday because I couldn't keep my brain from thinking about constructing these pieces. I've been up since 5:30am but I got to work at about 730am. IT'S FINE, I'M FINE.
I don't feel like I've made significant progress, but it's moving at a good rate. I had to special order my fabric because it's back-ordered, and they spelled my address wrong (I called and tried to fix it, but they spelled it wrong again), so HOPEFULLY that comes soon....
As for my mock-ups, it took me two hours on Friday to cut the pattern pieces for these pair of pants and assemble them, but it looks pretty cool!
So the fabric actually keeps this shape fairly well, but it does need that under structure that the original has. I need to lengthen the crotch so it fits the other male mannequin. I might have to call my adviser to come in and help me with the upper under structural piece, as I am not sure how to negotiate it into the crotch with the rigelene or whatever I'll be using.
The horizontal slash and spread here really helped with the ballooning portion at the waist. I need to make a few other changes to the pattern, but hopefully it should be much easier from this point out.
It was difficult to put this together because all of the pattern pieces look almost the same but have very slight differences. I had to cut each piece in the order they were cut in paper with, and assemble it in pieces in the same order one-by-one. Took so long!
The downfall of working so closely with sheer fabric is that anything that touches it will get pencil on them...these are my hands after only an hour working with it. No wearing white shirts while working on this project!
Sorry these past two posts have been so short. I've been distracted by the fabric order and the other requirements of this project. Hopefully the progress pictures show how far along we are through it.
Thanks for reading!
Thursday, May 30th, 2019
This project has been made possible by donors to the College of Fine Arts Fund for Excellence, the University of Arizona's School of Theatre Film & Television, and the individuals who have generously donated to the Medici Scholarship Foundation (specifically Ms. Robyn Kessler and Robyn and Jeff Timan) . Thank you for all your support!
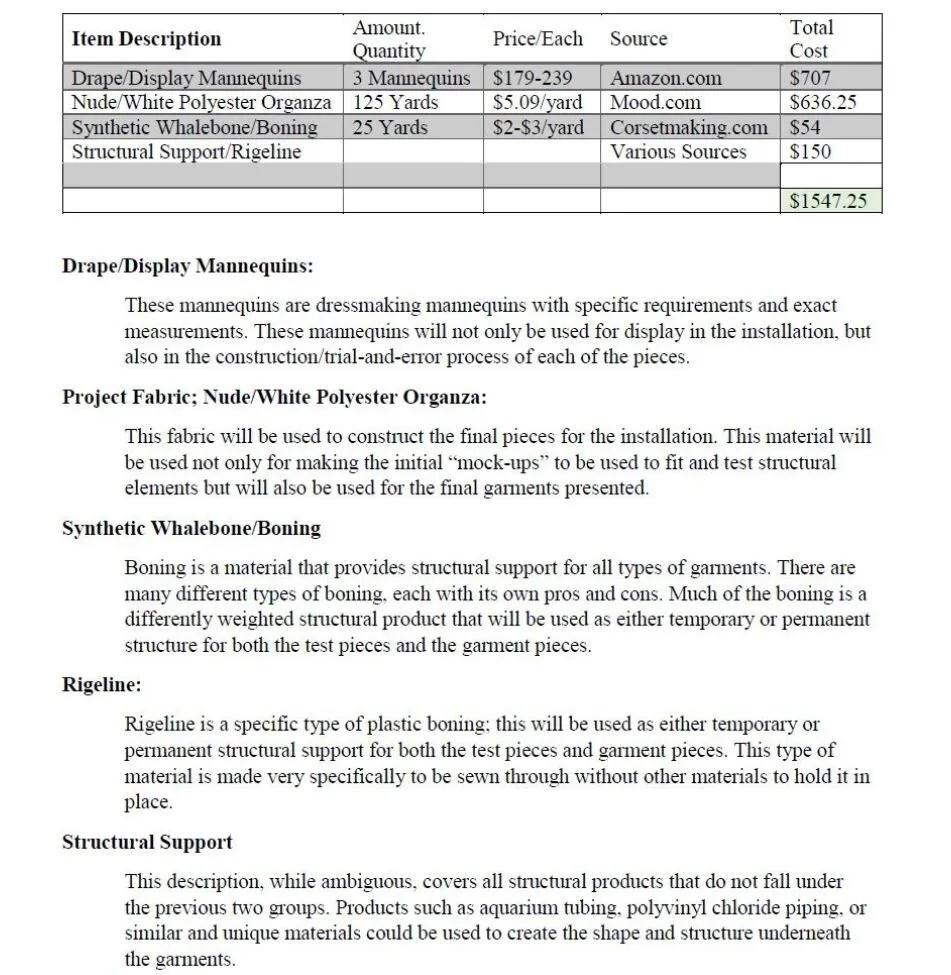
Updated my budget this morning, and yikes did I go through that quickly....
Here is a screenshot for you of what it looks like. I may end up eating some of the shipping costs to preserve some money for contingency. We will see though, I don't need much more if anything at all.
Yesterday was focused on the male ensemble, specifically the pants. I spent all morning trying to figure out how to balloon out the top without seam lines. It's not something that can happen, I explored a few different patterning methods and it just seems like no matter what, it needs to have a few seam lines.
I put my mock up together from the previous day, and it turned out the way I expected:
Really this mock-up was to prove to myself that it wasn't going to work, and to see how these adjustments would sit on the mannequin. It's obviously not what the final product needs, so we went back to the drawing board.
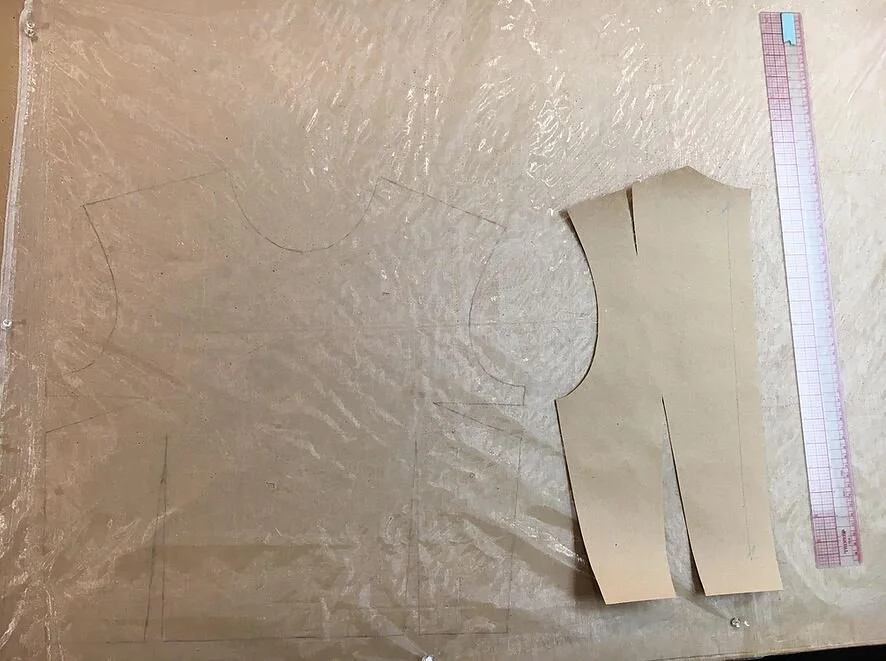
I began to slash and spread the original pattern to expand it to the length I needed, like this:
I didn't want to expand the pant past the knee, so I cut it off and only planned to work with the top portion. The vertical lines are drawn down awkwardly like that because I aligned my ruler with the waist line. I attempted to slash and spread this way, and it seemed to work, but it still looked like it needed something else I was missing. I was also avoiding messing with the inseam line, waistline, and crotchline, because that would have given me a whole other mess of problems.
I ended up calling some friends for their suggestions, and they helped me figure that I actually needed to slash and spread horizontally as well as vertically to give that ballooning shape off the body.
Here is the diagram we came up with:
A friend suggested that we find the fullest part (which we determined to be 2" above the crotchline), mark that point, and spread above and below this point horizontally. This would give me more to work with as well as lend ease to this portion of the pant. Then it was time to slash and spread the piece vertically.
Wooh cutting so much!!
Traced these pieces, and my friend and I were convinced for a minute that we needed to create a seam at the fullest part, but I really wanted to see what other options we had.
I traced everything out and let my gut guide me at this point. We talked about these pieces being seams, and I think that might be the way it has to go. It would be good though, because that would give the lines that the original costume has as well.
You can see how the new pieces came together. I think they will actually become seams.
This took me ALL DAY. I was enormously frustrated at the end, and I only completed the front panel pattern. Today we are going to focus on the back panel and the new mock-up, which will hopefully be loads better than the first attempt.
Now time for a little fun.
I have made a total mess of the shop with this project!
Yikes. Hopefully the fabric will be here soon so I can start constructing the actual pieces and clean some of this mess up.
Thanks for reading!
Wedneday, May 29th, 2019
This project has been made possible by donors to the College of Fine Arts Fund for Excellence, the University of Arizona's School of Theatre Film & Television, and the individuals who have generously donated to the Medici Scholarship Foundation (specifically Ms. Robyn Kessler and Robyn and Jeff Timan) . Thank you for all your support!
Hello!
This past week, I had to take some time off to deal with some personal things, so I haven't been able to much.
I did think about display in the exhibition, however. The costumes themselves are complete works of art, and they all include some sort of headpiece. I think just placing them on top of the mannequins would do the whole piece a disservice, so I am currently exploring head creation...
This is one of the patterns I tried, and I think it is my favorite. (Paid) pattern can be found at https://dali-lomo.blogspot.com/ I am going to re-work the pattern so not only the head is smaller, but it will have less seamlines on it. I don't want the head to distract from the rest of the pieces.
So last Tuesday I was able to get some work done on the male cage top, and I originally created a time-lapsed video of my progress; it was a two and a half hour video that I condensed into fifteen minutes, and I watched it a few times and decided that it was super boring and that I'd try again on a day that I am actually doing something interesting to viewers... honestly it was just me stitching the cage. The following are some progress pictures of the cage (which I am currently burnt out on) and you can see how I've stitched it. I've since had to take out much of the stitching due to the fact that it was simply not sitting well on the body.
SO FRUSTRATING.
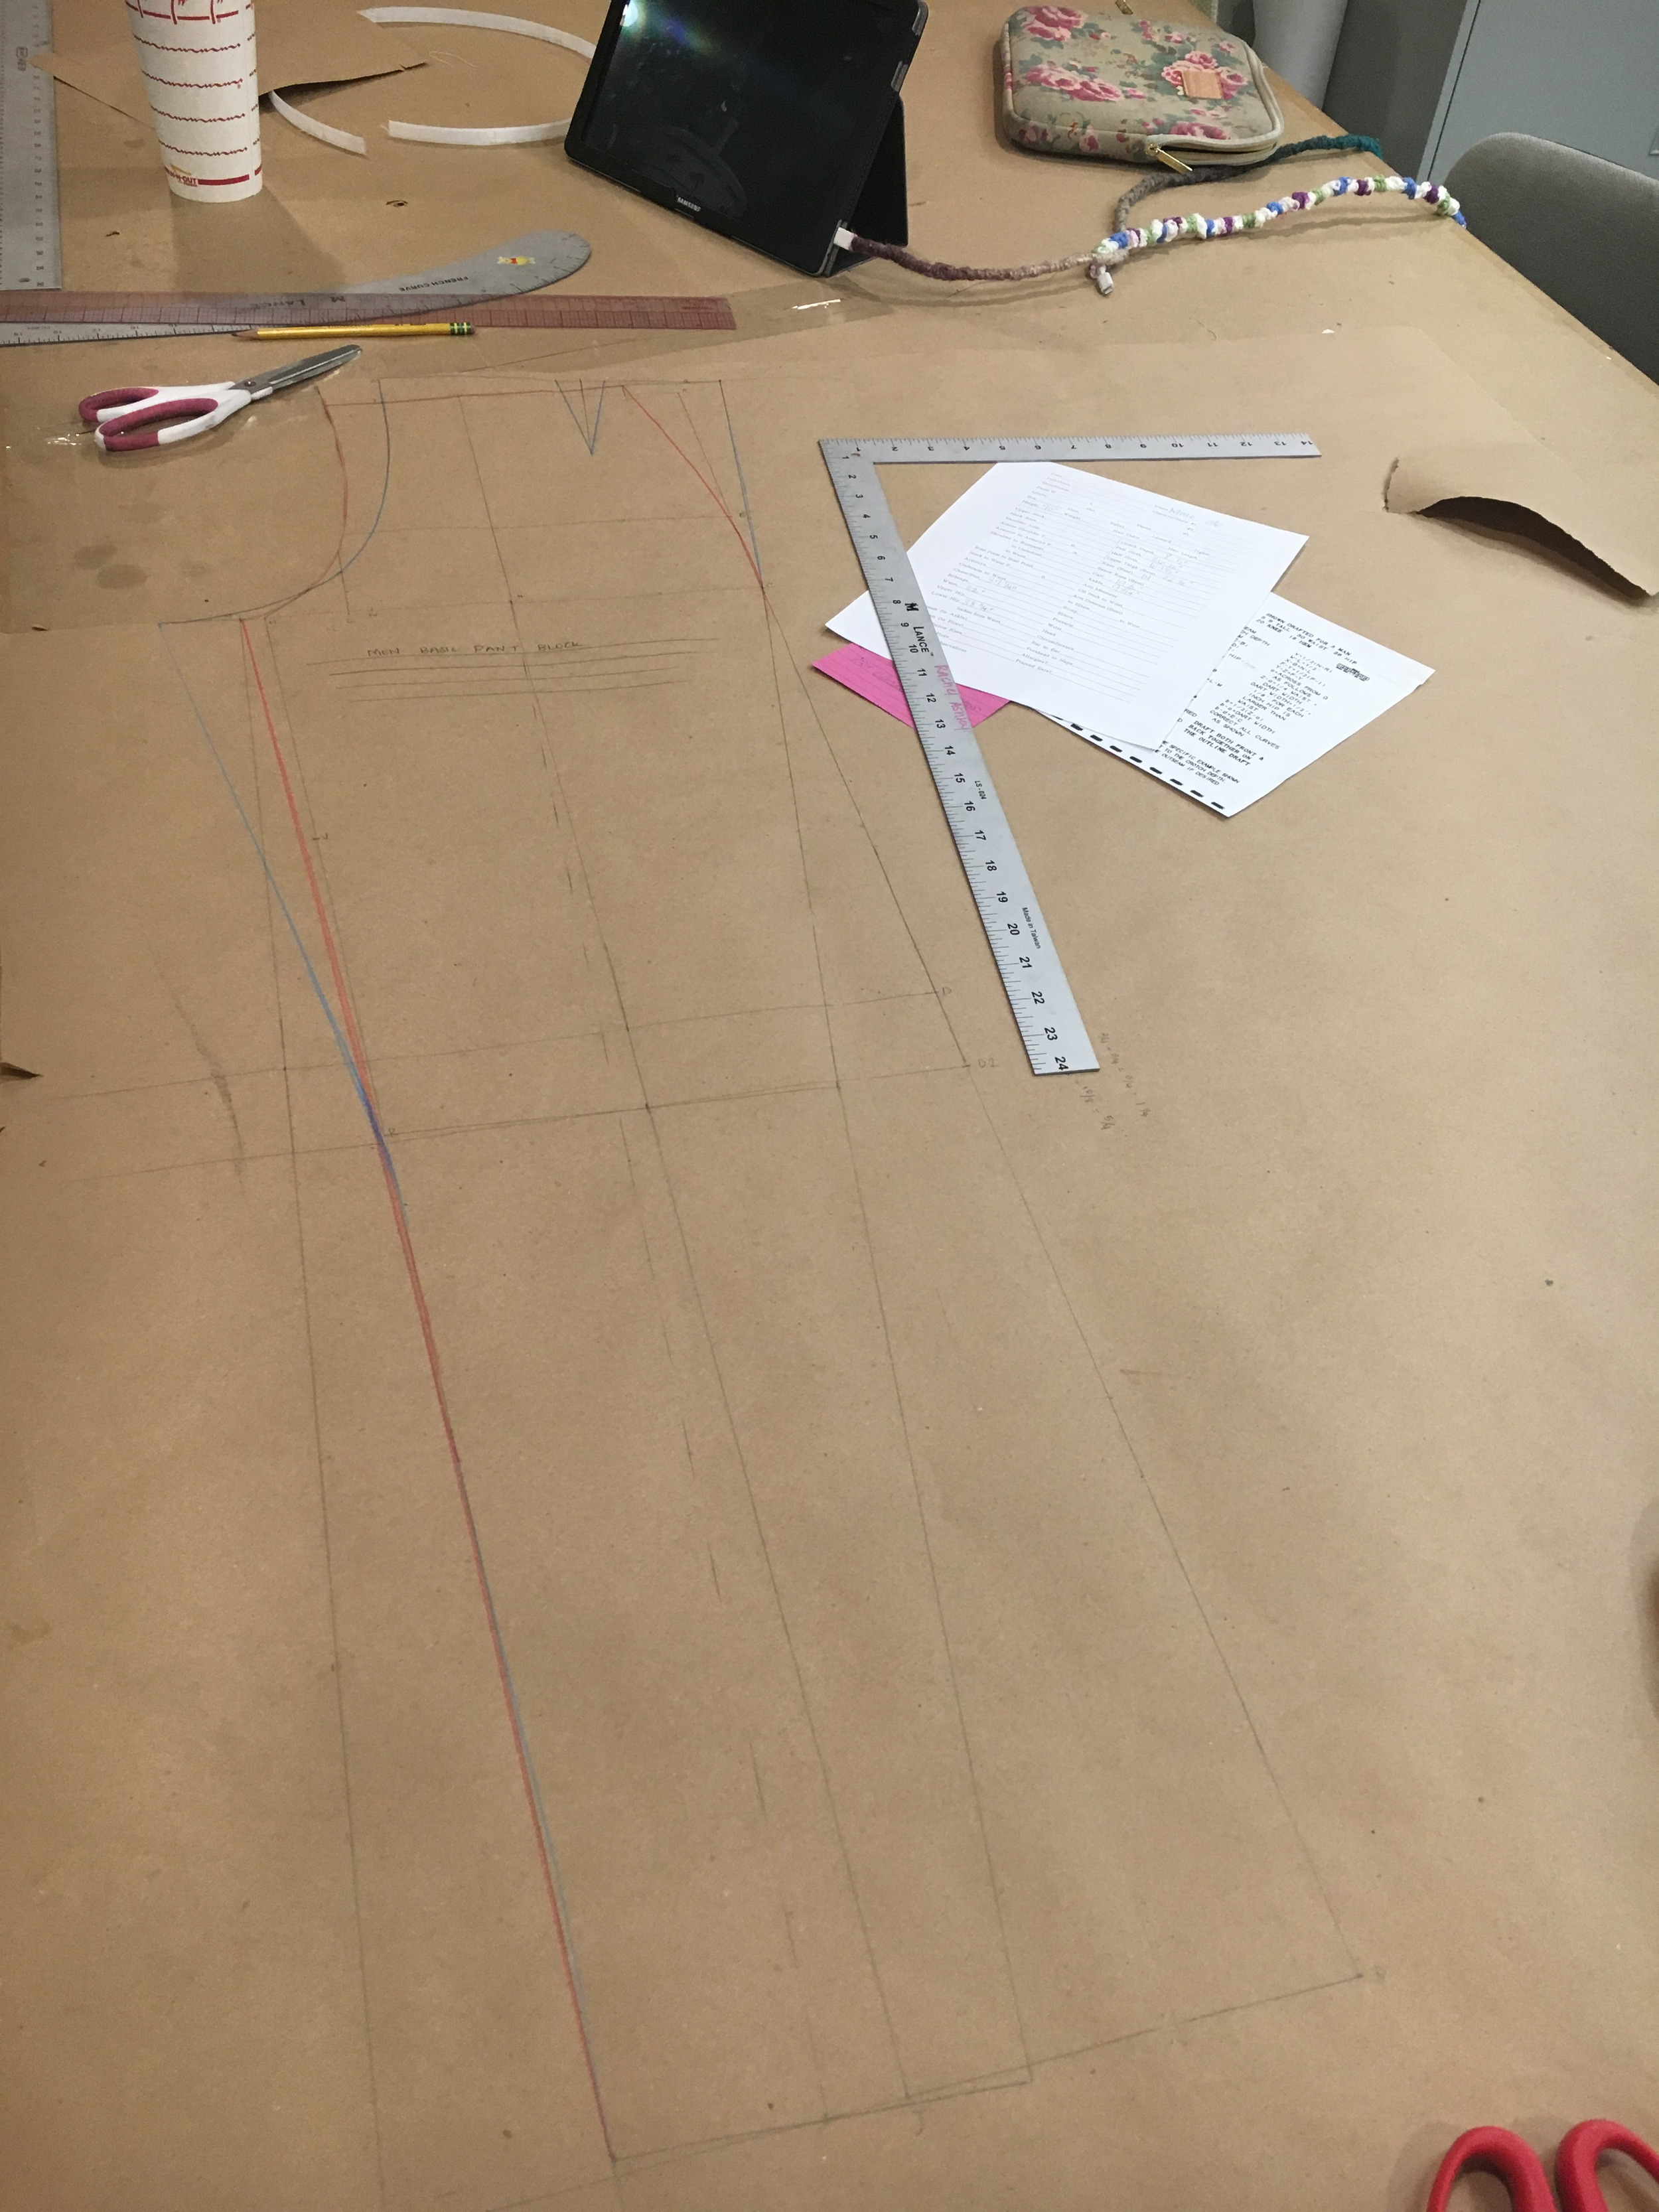
Anyway, yesterday we moved to the pants, and I have a few ideas on how to accomplish the balloon style pants, but we are going to try them out before I commit. I drafted a basic pant block using a method that my faculty adviser taught me (top secret!), and altered it in a way that makes sense to me.
I originally thought to add more shape all around, but the picture I am using seems to only balloon at the low hip and taper to the knees before becoming fitted at the bottom. I added 5" to the largest part and tapered it up and down to the knees. My patterns aren't really trued up, but we are going to go ahead with this mock up to see what I need to adjust or change, or if I have to just start over.
I have my mock-up cut out and ready to be stitched, so that's what we will be focusing on today.
Thank you for reading!
Friday, May 17th, 2019
This project has been made possible by donors to the College of Fine Arts Fund for Excellence, the University of Arizona's School of Theatre Film & Television, and the individuals who have generously donated to the Medici Scholarship Foundation (specifically Ms. Robyn Kessler and Robyn and Jeff Timan) . Thank you for all your support!
Well, hello there!
Yesterday didn't feel like a productive day, but I think I got enough done to qualify as progress.
I started on the male form yesterday, experimenting with shapes and structural components. As a refresher, here is his costume, which consists of:
A hat
A 'ruff', neckpiece
Balloon-shaped bodice
A tutu-shaped skirt
Ballooning pants
You can't really see it in this photo, but the neck-piece/anchor portion is bowing outward despite being heavily interfaced. I scrapped this and just began to focus on the structural portion.
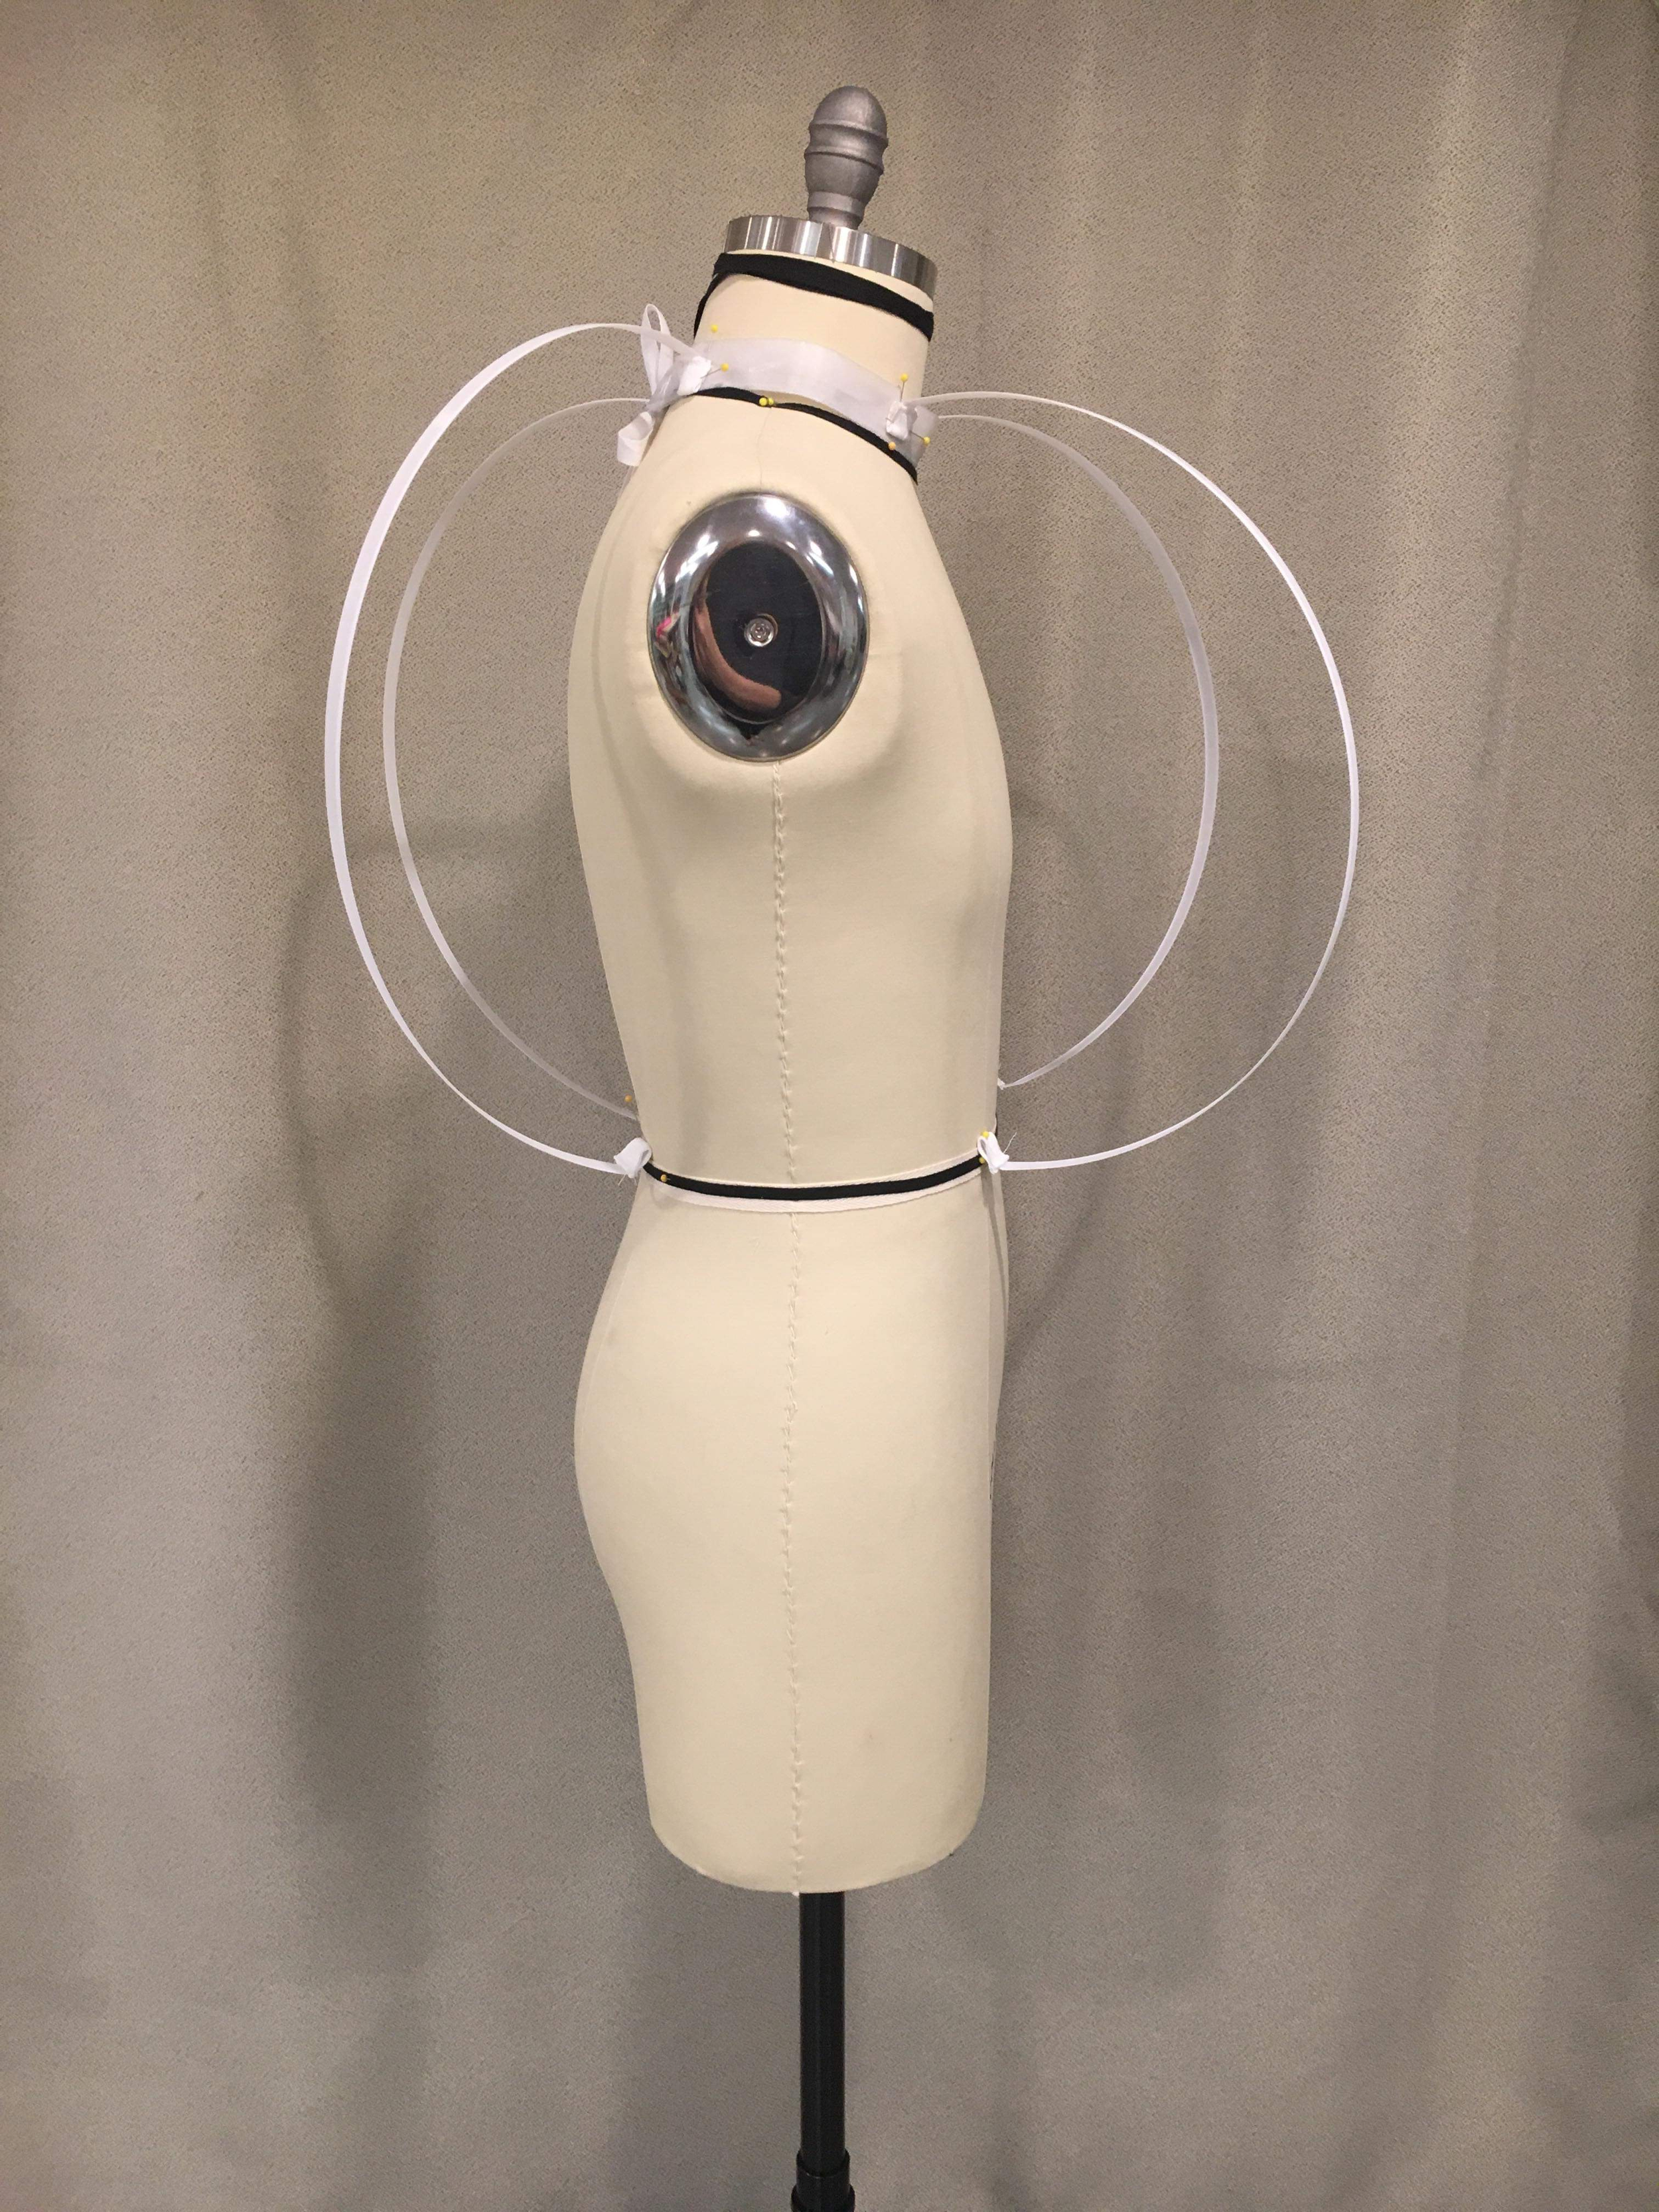
This was the beginning of the structural testing. This is 3/4" rigilene, I feel it is thicker and more structurally sound than the 1/2" rigilene. I didn't think there was any merit to using the other boning materials I had, such as the steel boning or the covered plastic boning, as they are both quite stiff and the steel is very heavy. There are obviously some inconsistencies with the shape of this, so I rethought how to place them, and adjusted them to better fit the shape I needed.
I also had to figure out a way to not only attach the rigilene to the body, but to also cover the sharp edges that may hinder actors movements or cause injury. As one of the goals of this project is to not only make something interesting to look at, but fully functional and stage-worthy, I have to construct this as if an actor is going to wear it for a full run of a show.
This is doubled twill tape, attached to the ends of the plastic boning. This piece is then folded down and placed flat on the form to create the bubble shape.
I also took this terrifying picture as I was working. Is there no better way to secure these pieces to each other? Lets just say I sustained some injuries in the construction of this piece.
Here is the final product of yesterday's experimentation. I'll have to measure out each point of contact for the male structure and stitch them down, but so far it looks pretty right. I am happy with my current progress on this project, and I hope to keep progressing at the pace I am at.
Thank you for visiting!
Thursday, May 16th, 2019
This project has been made possible by donors to the College of Fine Arts Fund for Excellence, the University of Arizona's School of Theatre Film & Television, and the individuals who have generously donated to the Medici Scholarship Foundation (specifically Ms. Robyn Kessler and Robyn and Jeff Timan) . Thank you for all your support!
Good morning!
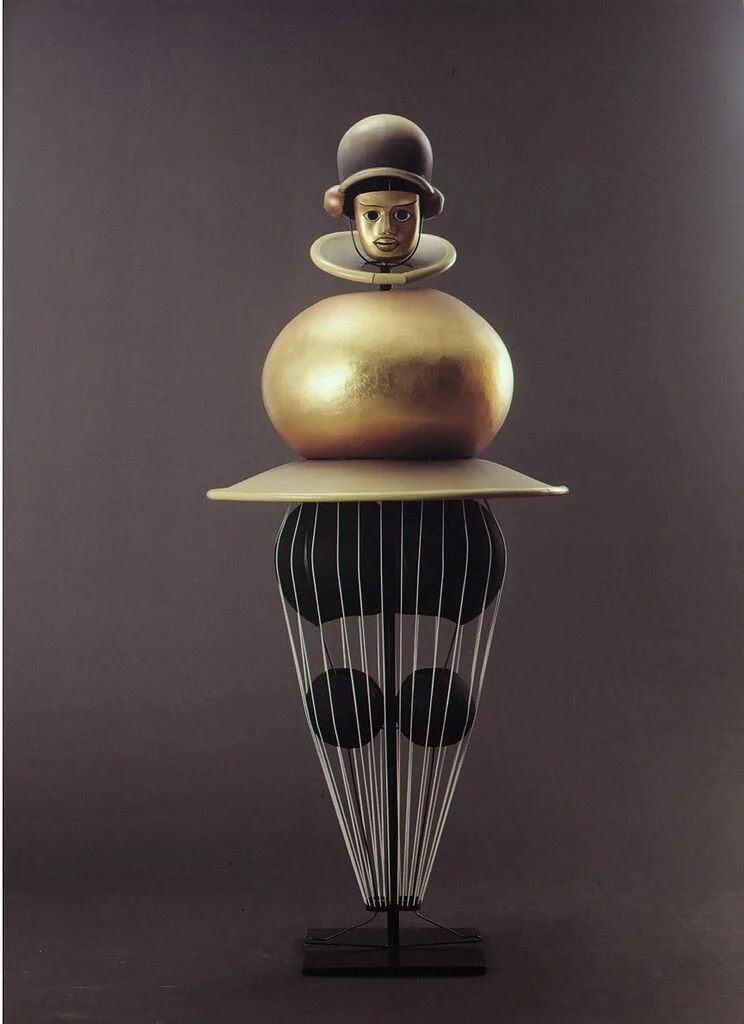
So yesterday in the shop, my adviser and I re-evaluated the tutu-esque costume that I am re-creating. You can see it below:
You can see the tutu is circular, but I thought they were concentric circles, and she was under the impression that it was a spiral.
So I tried my very best to find more images of this particular dancer, and there are several re-creations that are similar, and several other costumes with either circles or spirals, but there are no other pictures of this dancer in this costume from any angle that actually helps us to determine which it is.
So we made a command decision...they are now concentric circles. This is actually something that people in costume technology do quite a lot, so it wasn't really hard to make this kind of concession. If there isn't enough research, or the designer isn't around to make the final decision, we need to make these sort of decisions ourselves in order to further the progress of the project.
So, with that decision made, I began attempting to pattern this out. How in the world does it stick straight out like that? In my experience, I've never really made or explored support structures like this before, and I think it is affecting my confidence in this project. But yesterday I pushed through and started drafting some patterns I thought would work. Referring to the tutu construction, I thought I may as well start that to understand the way it is put together and hangs off the body.
I decided to draft a circular skirt pattern (note: skirts are literally my weakness, so this was my first time drafting and executing a circle skirt...)
I am using the mock up organza here, which is similar to the final fabric I will be using, if a little stiffer. It is 16 1/2 inches out with the waist created by dividing the waist measurement by 6. I determined the length by looking at where the skirt seems to stand at the arm; it looks to me it stands just under the middle of the forearm. I placed the tape measure at the waist of the dress form and held my own arm out to see what the length was.
The reference picture of the tutu I'm using for the construction of this has a middle bone as well, so I placed that about halfway, landing at 8" (middle mark on the pattern). The construction of the first half was.... I'm gonna describe it as 'whelming'. I boned it with the 3/4" rigilene and encased it with twill tape, and it just fell flat. I should have taken a picture of it, but again, it was not impressive.
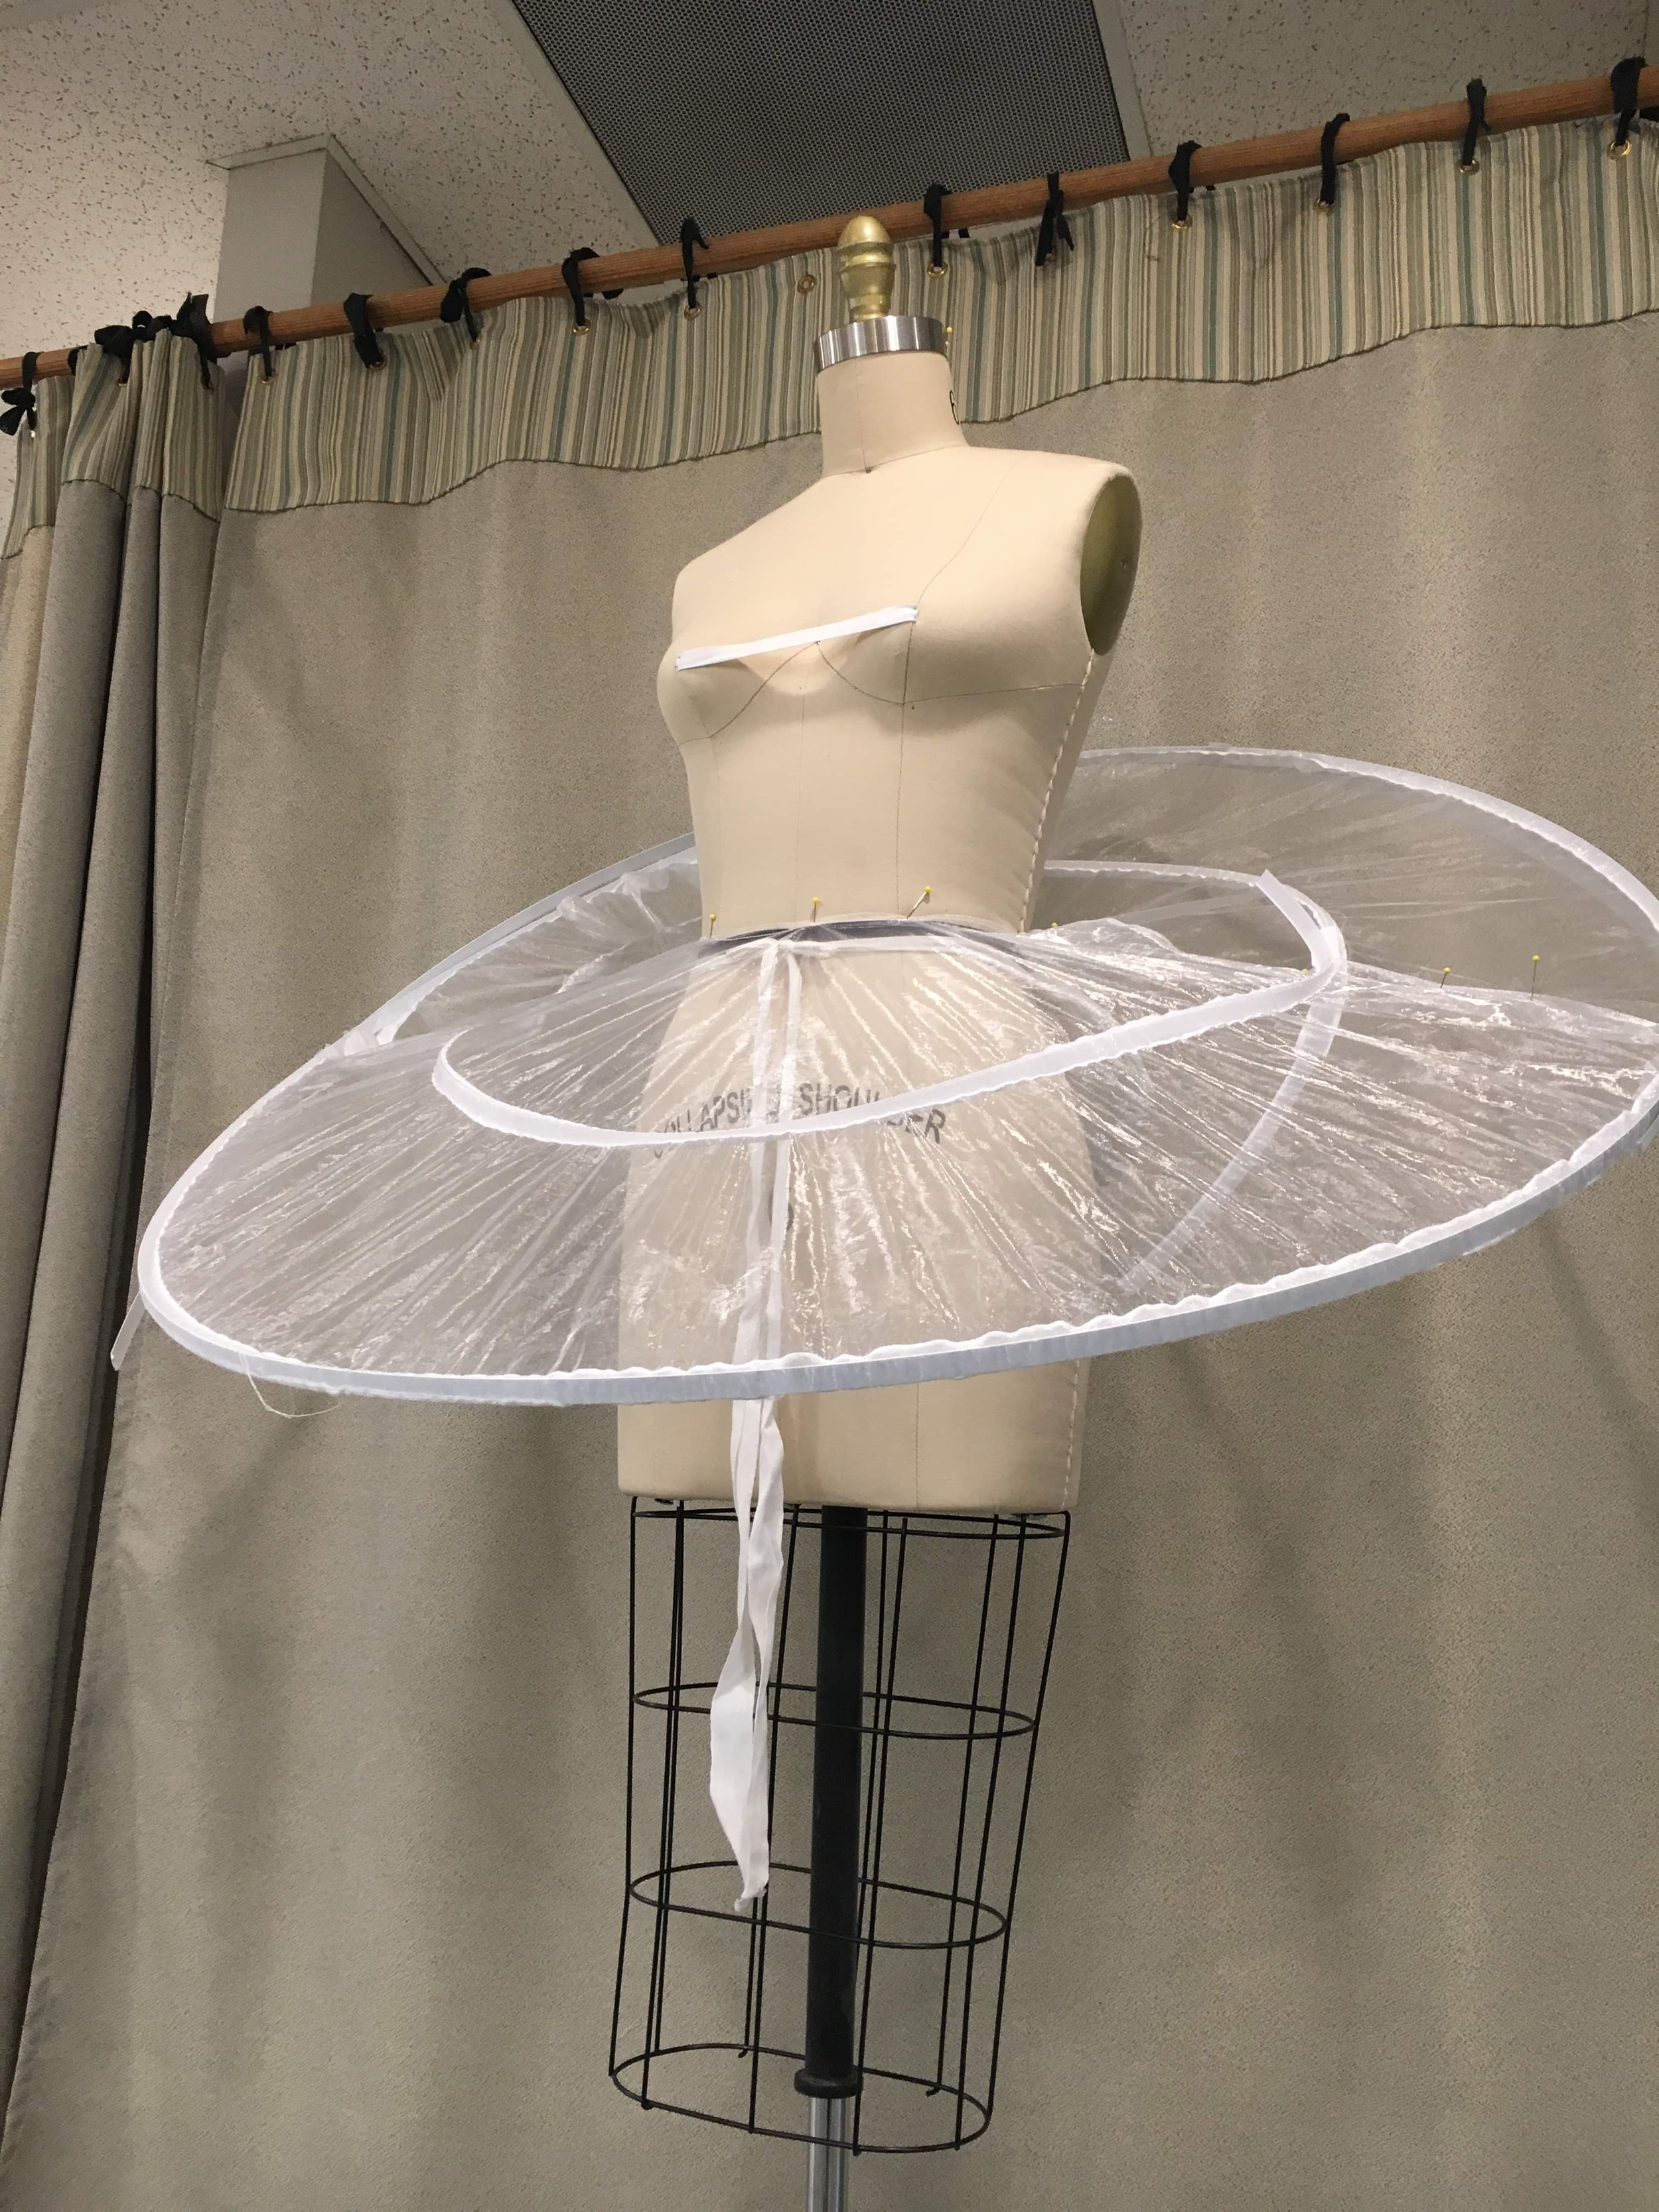
So the second half of the skirt was added. It was also not impressive, as the rigilene, if pushed to its limits, created a wave rather than a straight hem. I truly thought the spring steel bone would just weigh the whole thing down, but we tried it anyway for the sake of exploring all avenues. Below is the result:
IT STAYS UP BY ITSELF!
The steel boning is 1/2", and to get the thin lines I think I will have to order smaller boning for the final piece.
I consulted my original budget, and it looks like I designated $150 to various boning materials, and $50 for synthetic whalebone.
So it looks like I am $10 under the projected dress form cost, and I can cut 25 yards from the fabric order as well, as I think each tutu will be about 2 yards each, which was the bulk of the order initially. The revised fabric total for 100 yards of the nude or white polyester organza would be $509, according to mood.com. If this number doesn't change, that gives me $127.25 plus the $10 = $137.25 that I can now use for the (quite expensive) spring steel boning for this piece. I am going to consult my adviser before re-designating this portion to the steel boning, and order these pieces today.
Also, my other check has cleared, and I now have access to all of my funding. YAY!
Today's to do list is to experiment with the male dress form (now dubbed Cornelius) and figure out the balloon top/pants/skirt situation.
Thank you for reading!
Wednesday, May 15th, 2019
This project has been made possible by donors to the College of Fine Arts Fund for Excellence, the University of Arizona's School of Theatre Film & Television, and the individuals who have generously donated to the Medici Scholarship Foundation (specifically Ms. Robyn Kessler and Robyn and Jeff Timan) . Thank you for all your support!
I totally forgot to include the actual pictures of what I am re-creating here! My apologies...
So the top left is my male piece, the top right is the size 6 dress form, and the bottom middle dress is the size 10 dress.
I will update the progress of today's work in the next post, so stay tuned!
Tuesday, May 14th, 2019
This project has been made possible by donors to the College of Fine Arts Fund for Excellence, the University of Arizona's School of Theatre Film & Television, and the individuals who have generously donated to the Medici Scholarship Foundation (specifically Ms. Robyn Kessler and Robyn and Jeff Timan) . Thank you for all your support!
I've been stuck in a rut a little bit. The project isn't exactly invading my thoughts like I would like it to. I am also still waiting on my funding to process, so I am not able to really do much until my structural material is here and I can figure out fabric.
Updated the budget today as well, and it looks like the total spent so far is $776.30 including the high priced items.
I do have a few other boning materials to purchase, and the fabric for the final project as well which is going to be a large chunk of the remaining budget. Looking at mood.com over the weekend, it seems they don't have the 125 yards of nude organza that I was hoping to use, so I think I might have to rethink the material choice, which sucks.
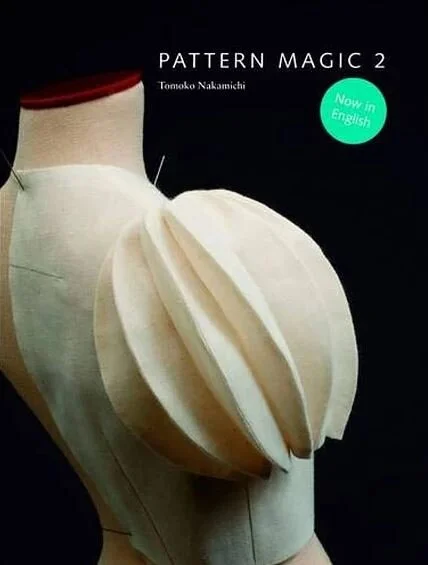
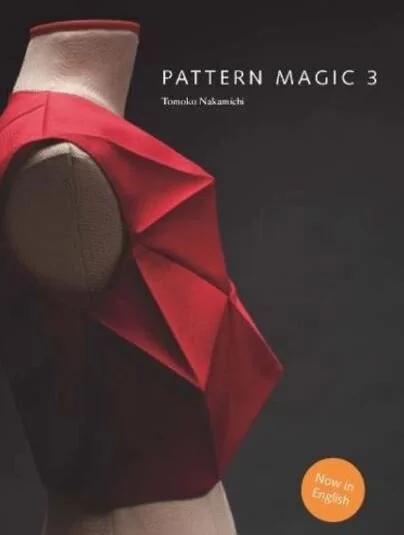
I myself purchased some books that are hopefully going to help with the more complicated parts:
Thanks for reading! Send me your good sewing vibes...
Friday, May 10th, 2019
This project has been made possible by donors to the College of Fine Arts Fund for Excellence, the University of Arizona's School of Theatre Film & Television, and the individuals who have generously donated to the Medici Scholarship Foundation (specifically Ms. Robyn Kessler and Robyn and Jeff Timan) . Thank you for all your support!
So today I experimented with creating shapes out of the test fabric, which was....
...well, what do you think of the two I tested out?
I decided I needed some other type of structural support, and to veer away from using strictly fabric to construct the balloon-shaped pieces on the costume. I ventured to Michael's to see what they had to offer and started using some alternative methods to create the shape I am looking for:
This is floral wire (18 gauge), round wire shapers, and a Styrofoam ball 7.9". I am hoping to drape some muslin or my test fabric over the Styrofoam ball and structure it with the wire, or rigeline when it comes in. My adviser suggested I purchase hollow plastic balls for them, but I am afraid that they will weight the costume down enough to where it wouldn't be functional.
We also talked about beach balls or beach balls, but these are a risk due to the fact that they may deflate over the course of the exhibition, which rules it out entirely unless there was a guaranteed way to seal it.
Much of the hollow balls I found online and in town are either too small or made of glass. There is an acrylic globe used for lighting, but once again I feel it would be too heavy, especially since I need to attach 18 to the skirt, and 8 smaller half-sized globes to the other piece.
So I gave up and started exploring other construction methods on some of the other pieces. I decided that the tutu-esque look should probably follow the classical tutu construction. I cannot seem to find anyone online or in any of the books I own that explain how to construct these tutus, but I did find this image that seems to make sense to me:
It looks like it is attached to the waistband with some sort of petersham or heavy ribbon, and it is structured in two places: at the midpoint and the end of the skirt. I am thinking the middle support is a lighter weight boning than the outer support, which looks to be spring form steel. How is the skirt not drooping, though? Wouldn't the steel itself drag it down?
My adviser explained that this type of construction creates tension enough to create the shape. I guess I just need to build one myself to understand.
Thanks for reading! I will be taking the weekend off to allow my ideas to simmer. Hopefully the rest of my funding comes through and I am able to purchase my fabric and my other supplies.
If you happened upon this blog and have suggestions or comments, please feel free to leave me your feedback.
Thursday, May 9th, 2019
This project has been made possible by donors to the College of Fine Arts Fund for Excellence, the University of Arizona's School of Theatre Film & Television, and the individuals who have generously donated to the Medici Scholarship Foundation (specifically Ms. Robyn Kessler and Robyn and Jeff Timan) . Thank you for all your support!
Today I brought in my size 4 form, took her measurements, and drafted a bodice sloper for her. A bodice sloper is just a basic bodice drafted by using the measurements taken on the body; there are no frills or design elements to creating a sloper. For this sloper, I used the formula in Apparel Making in Fashion Design, by Mykyung Uh. I chose this sloper because it not only creates a universal sloper, but also provides further instructions on how to create the darts and other necessary alterations for female fit.
The sloper gave me a bodice that looked like this:
As you can see, I had to take it in at various places to make the it fit as perfectly as possible.
I am using fabric similar to what I am using for the final products here. This is AWFUL organza that I purchased a while ago for my wedding to cover the wedding arch. Luckily, I saved it and have enough to create some test pieces for this project. I came to realize once I began fitting this that I cannot draw on my fabric the way I would when using muslin. I improvised, using pins to indicate where the alterations needed to take place. It was also clear that the stitch lines are unbearably visible, which means they need to be as close to perfect as possible.
I then fixed and trued up my pattern. It is ready to go. It is clear to me that I need to bone the top part of this costume to support the weight of the rest of it, and to also be function-able and wear-able, which is one of the goals of this project.
Once the bodice was done, I ended up going home and began ordering the structural support I think I would need to complete the project. Unfortunately at this point, I do not have access to all of my funding and can only purchase what I myself can afford. I purchased some steel spring boning, rigeline in two different sizes, and continuous plastic boning. I am also planning on purchasing reed boning, and various small straight steel bones; this will have to come later though, because I spent $70 on the first boning order.
I've begun to document all purchases through my budget form, which I will share in the next blog post on this website.
Thanks for reading!
Wednesday, May 8th, 2019
This project has been made possible by donors to the College of Fine Arts Fund for Excellence, the University of Arizona's School of Theatre Film & Television, and the individuals who have generously donated to the Medici Scholarship Foundation (specifically Ms. Robyn Kessler and Robyn and Jeff Timan) . Thank you for all your support!
Today was the first day I was able to purchase something for the project! Observe:
These are professional dress forms that are fully pin-able and sturdy. These forms will not only participate in the experimental stage (draping and patterning), they will also be used for the display of the final product....
Meaning I have to keep them in pristine condition. Yikes.
Anyway, I will have the male form (size "36") by this weekend hopefully. I am almost ready to begin patterning. I have chosen my three designs, and will need to order materials as the grant money is deposited.
Below are my final decisions on re-creations.
The 'balloon' skirt and bodice will be the costume used in the first image.
I am quite nervous about this project. While I am in a graduate program for costume technology, I am not sure that I have the talent or the skill behind me to complete these on my own.
We will see!
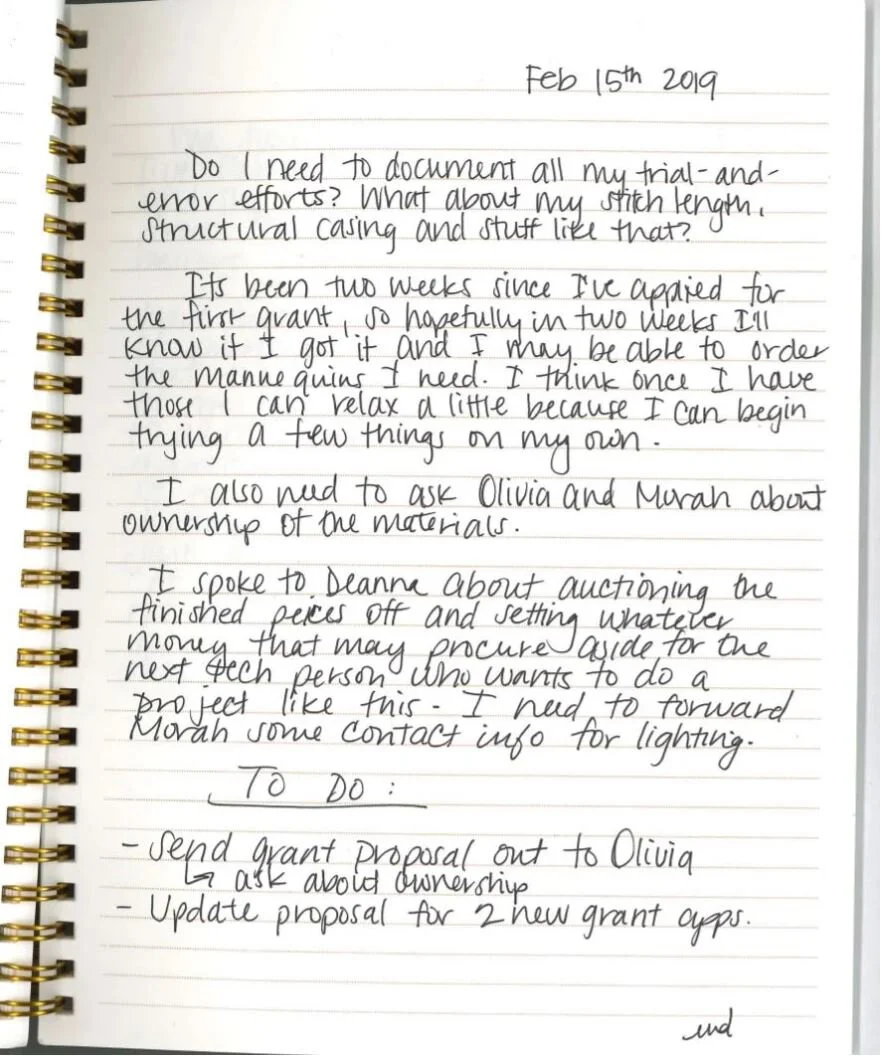
February 15th, 2019
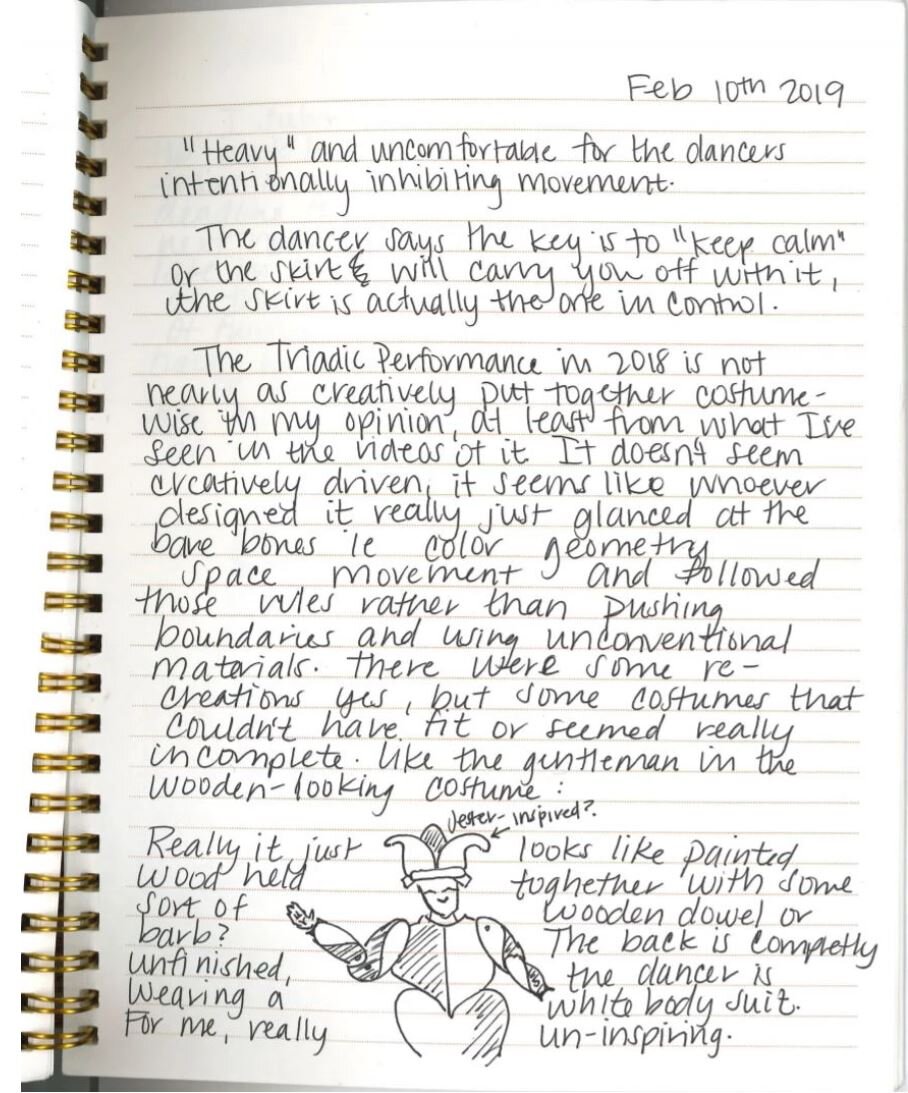
February 10th, 2019
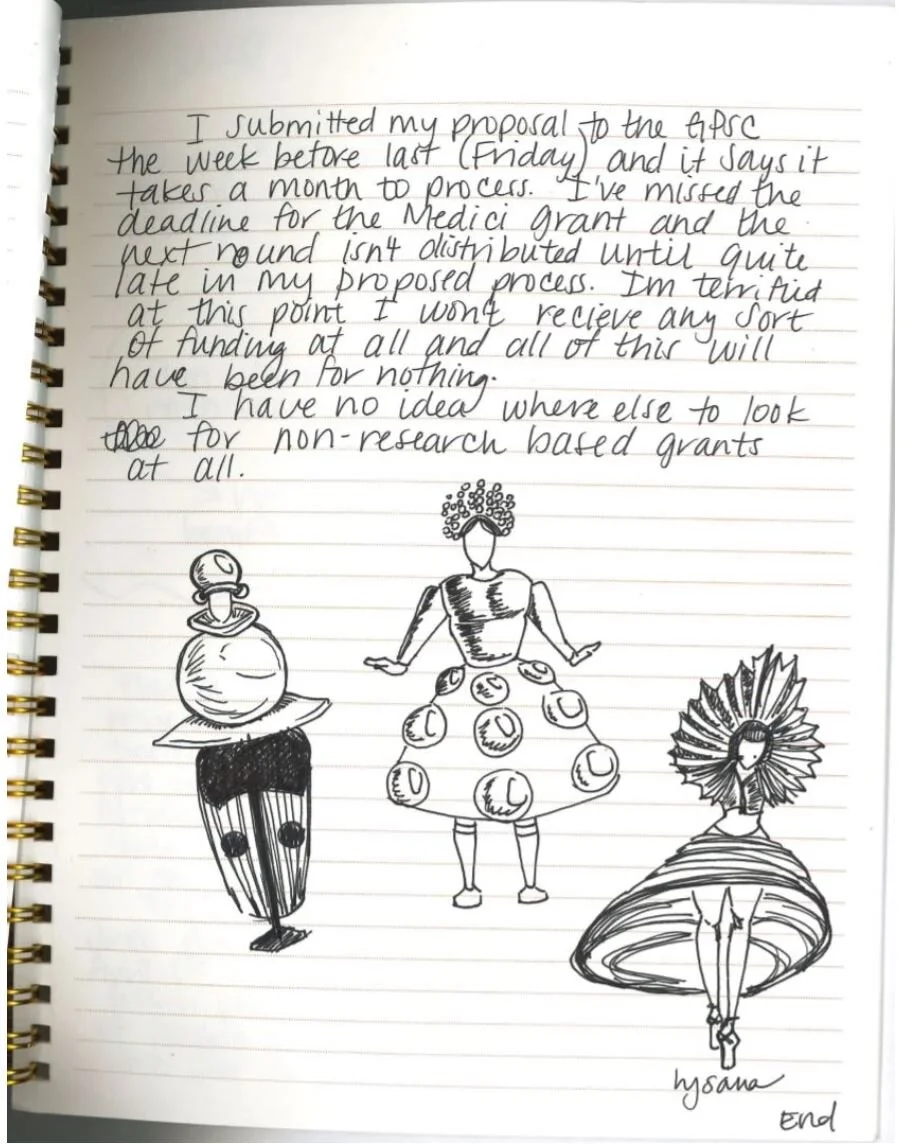
February 9th, 2019
Beginning
Hello reader,
I've been invited by the University of Arizona Museum of Art to participate in their Bauhaus Exhibition in the Fall of 2019.
I proposed to re-create three costume pieces from the Bauhaus movement in a stylistic way in order to highlight the main ideas of this art wave: body, space, and movement.
This blog will (hopefully) be a documentation of the trial-and-error experiments that I attempt while re-creating these unique pieces in a way that is not only functional, but artistic.
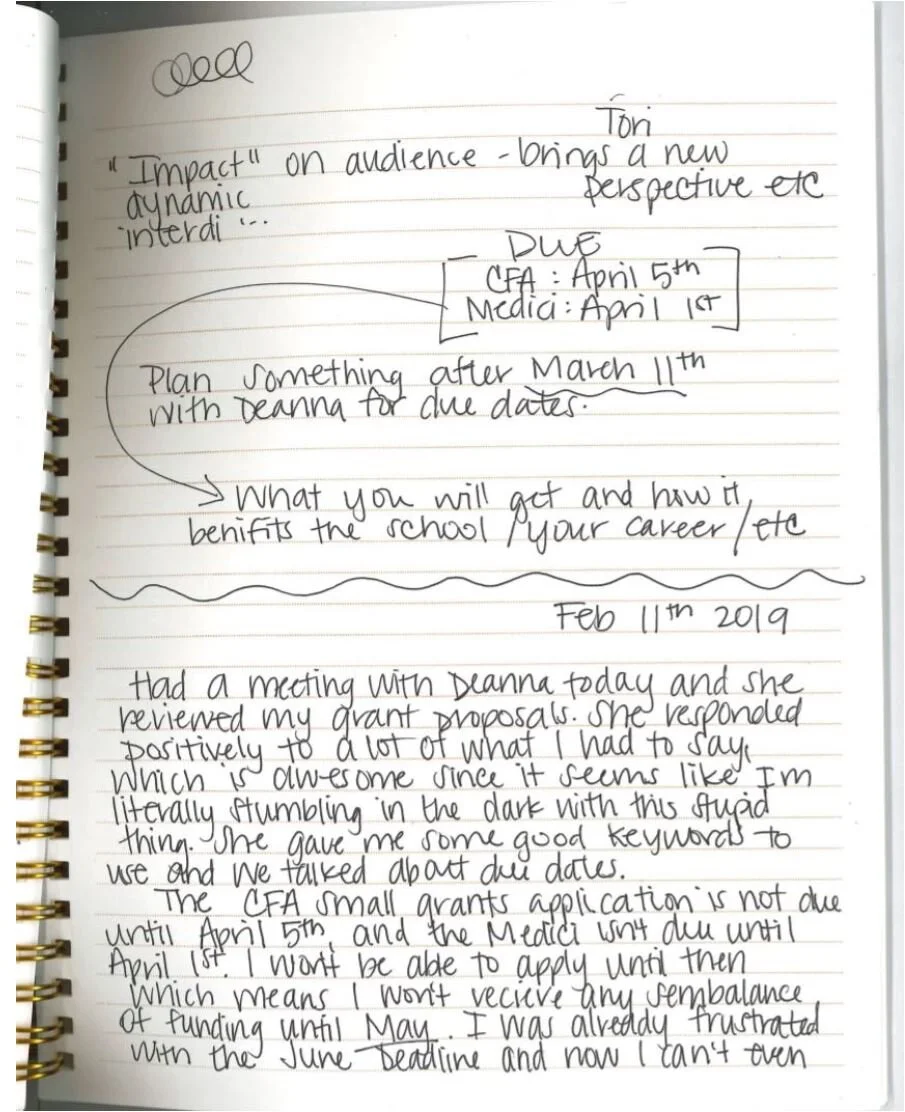
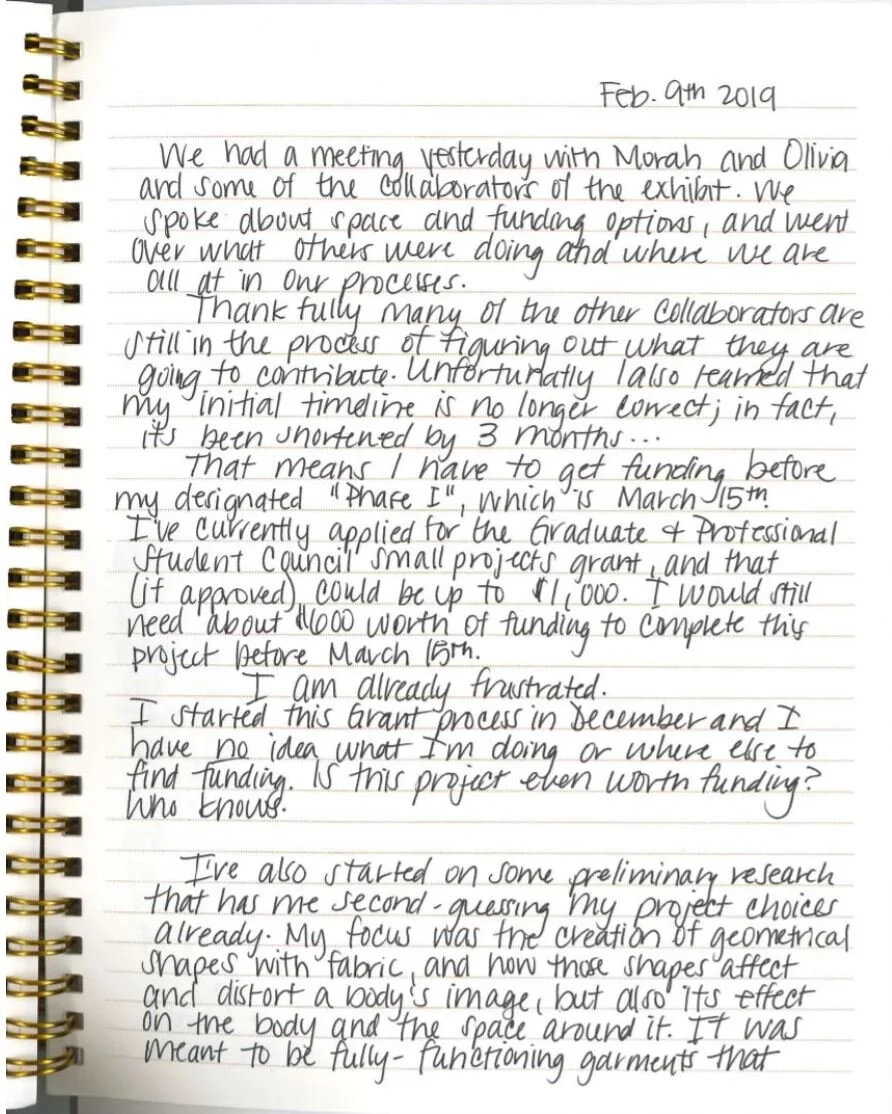
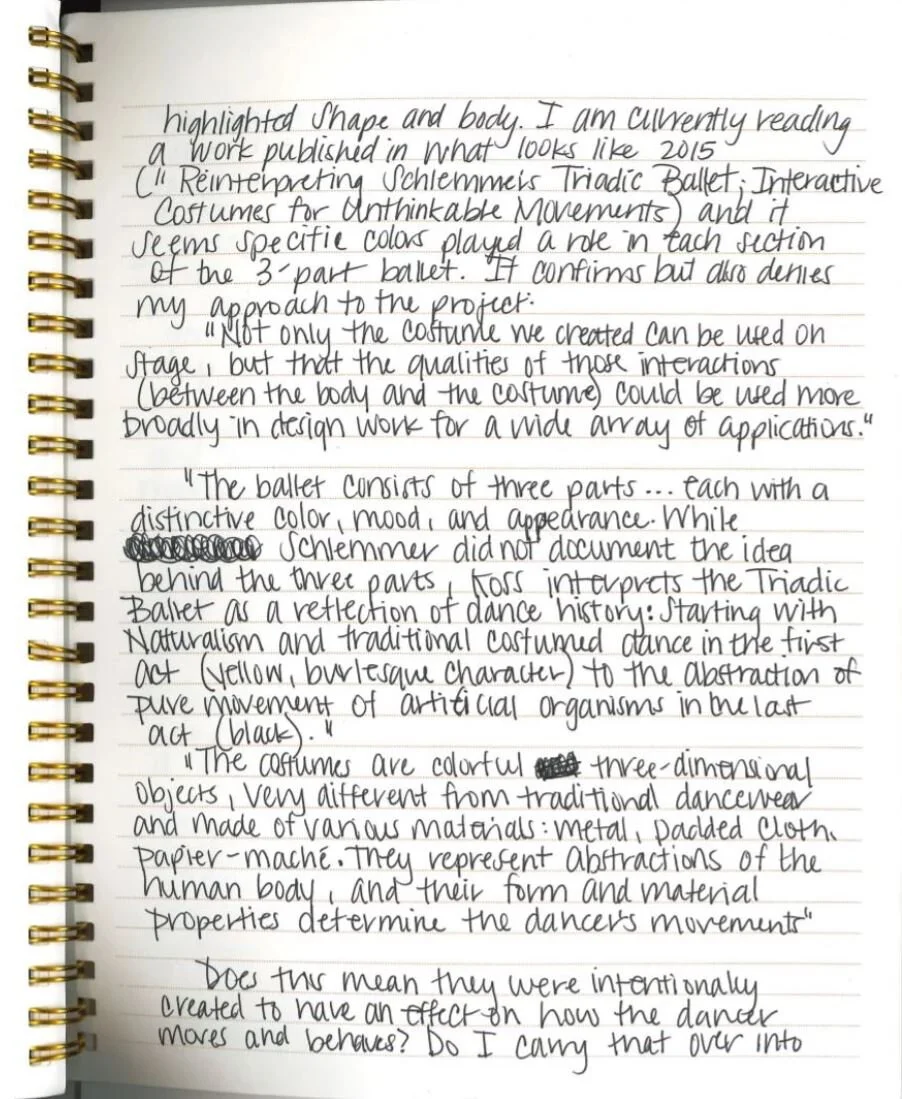
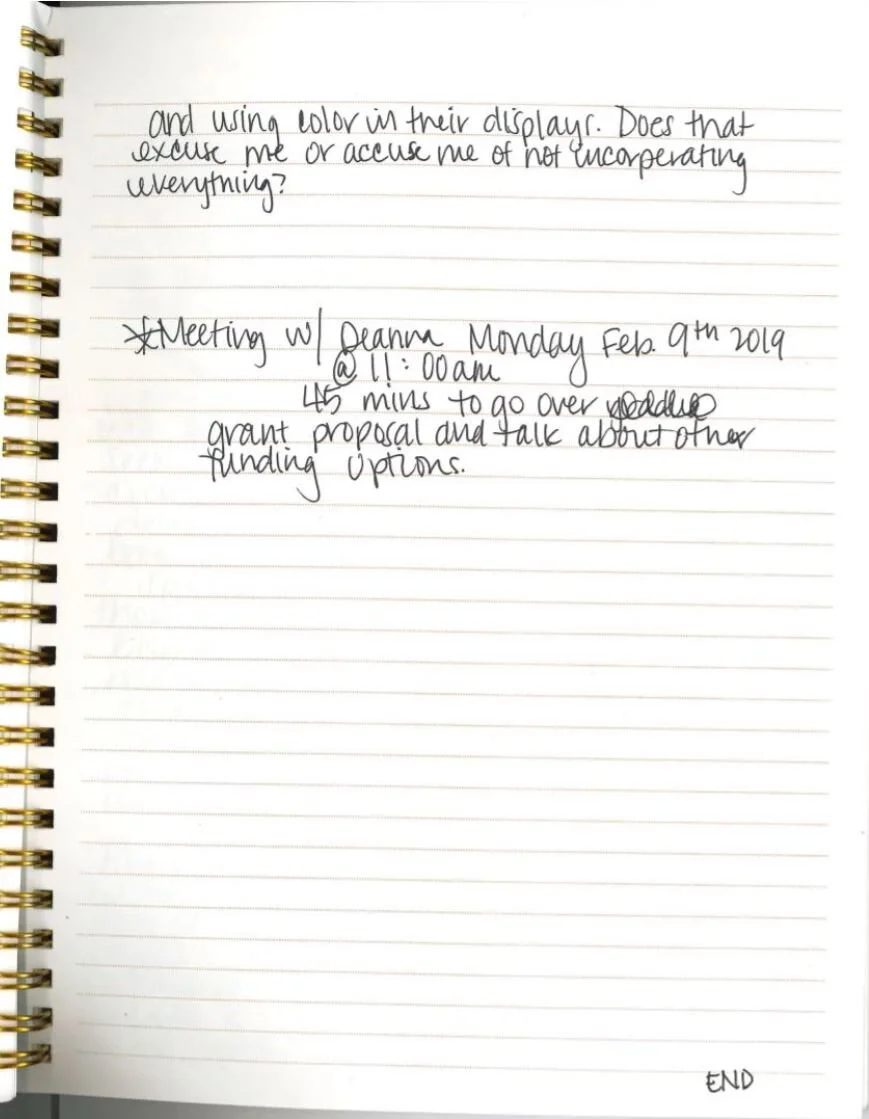
Many of the first posts will be the original journal I used before the project got onto its feet. Please excuse the horrendous handwriting.
This project has been made possible by donors to the College of Fine Arts Fund for Excellence, the University of Arizona's School of Theatre Film & Television, and the individuals who have generously donated to the Medici Scholarship Foundation (specifically Ms. Robyn Kessler and Robyn and Jeff Timan) . Thank you for all your support!
Enjoy
